
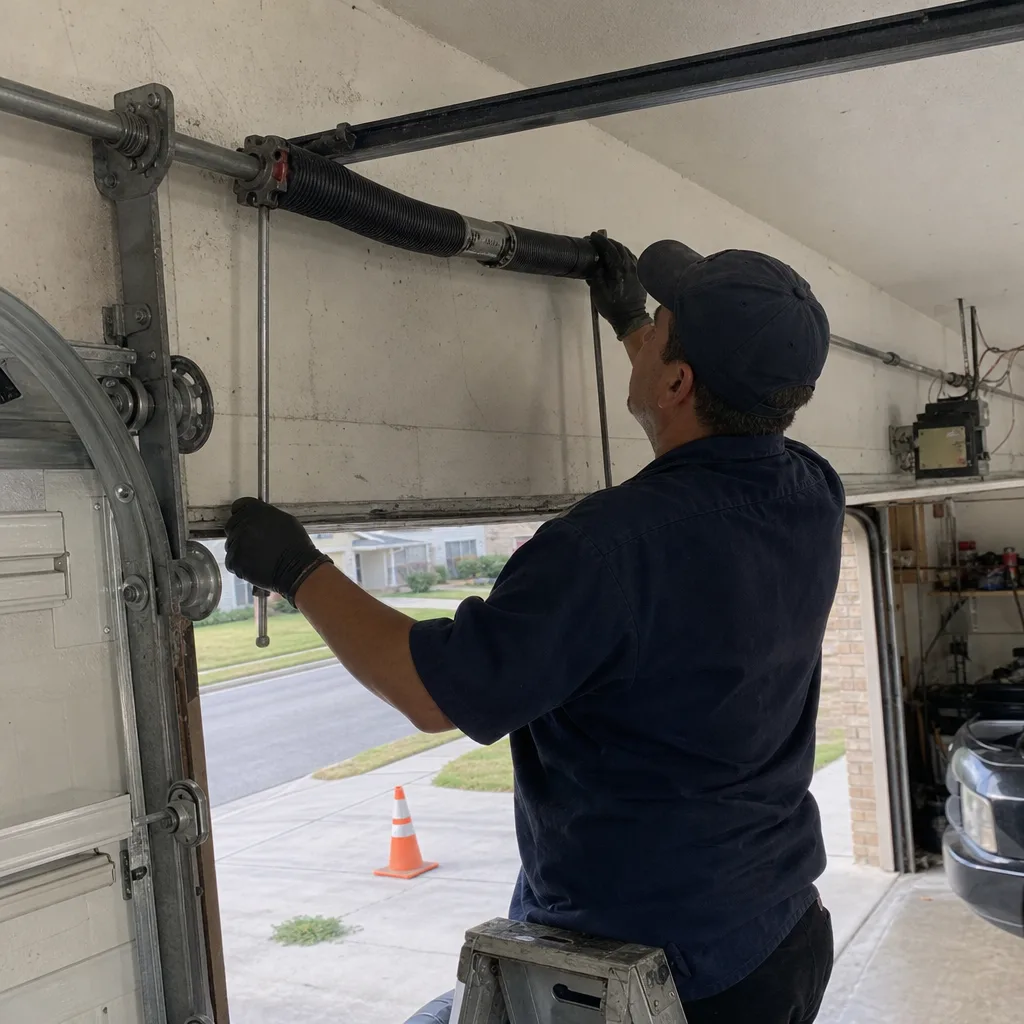
Last updated October 16, 2026
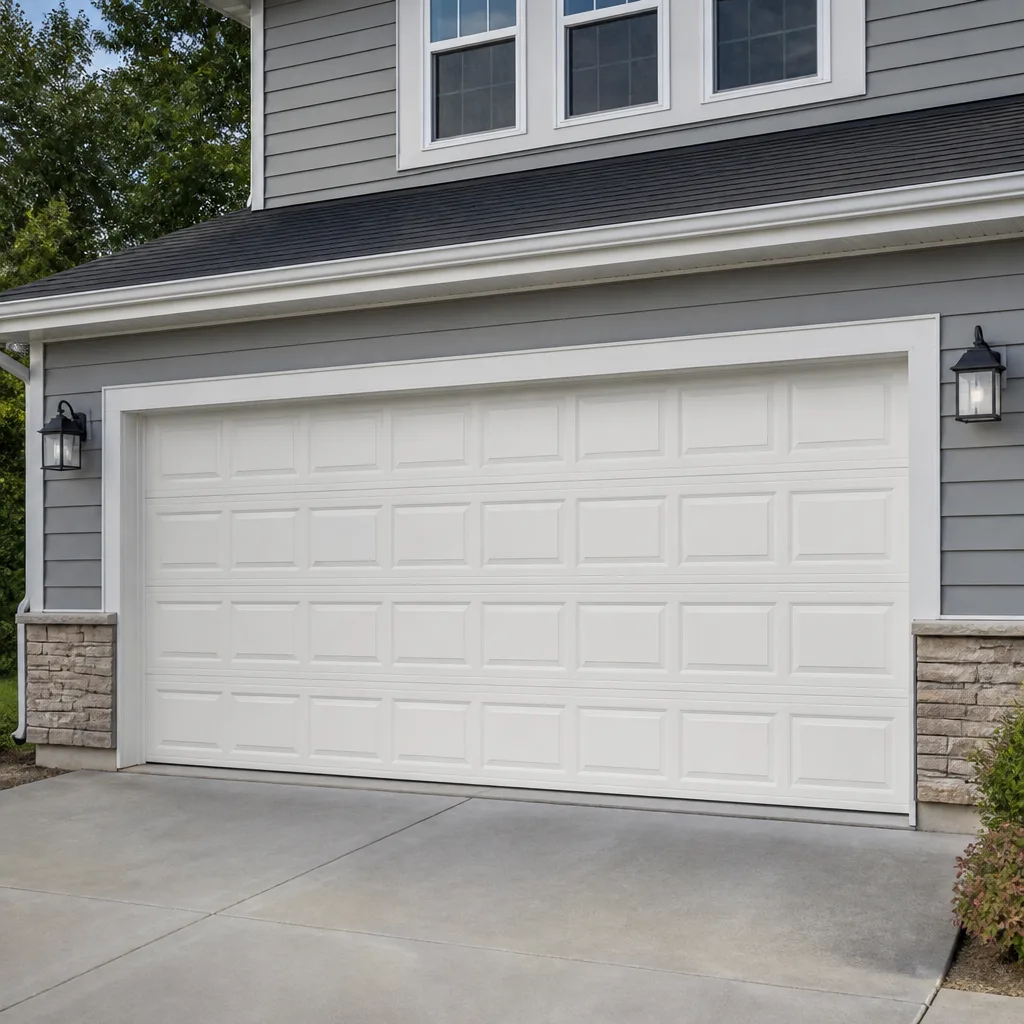 Raised-panel steel
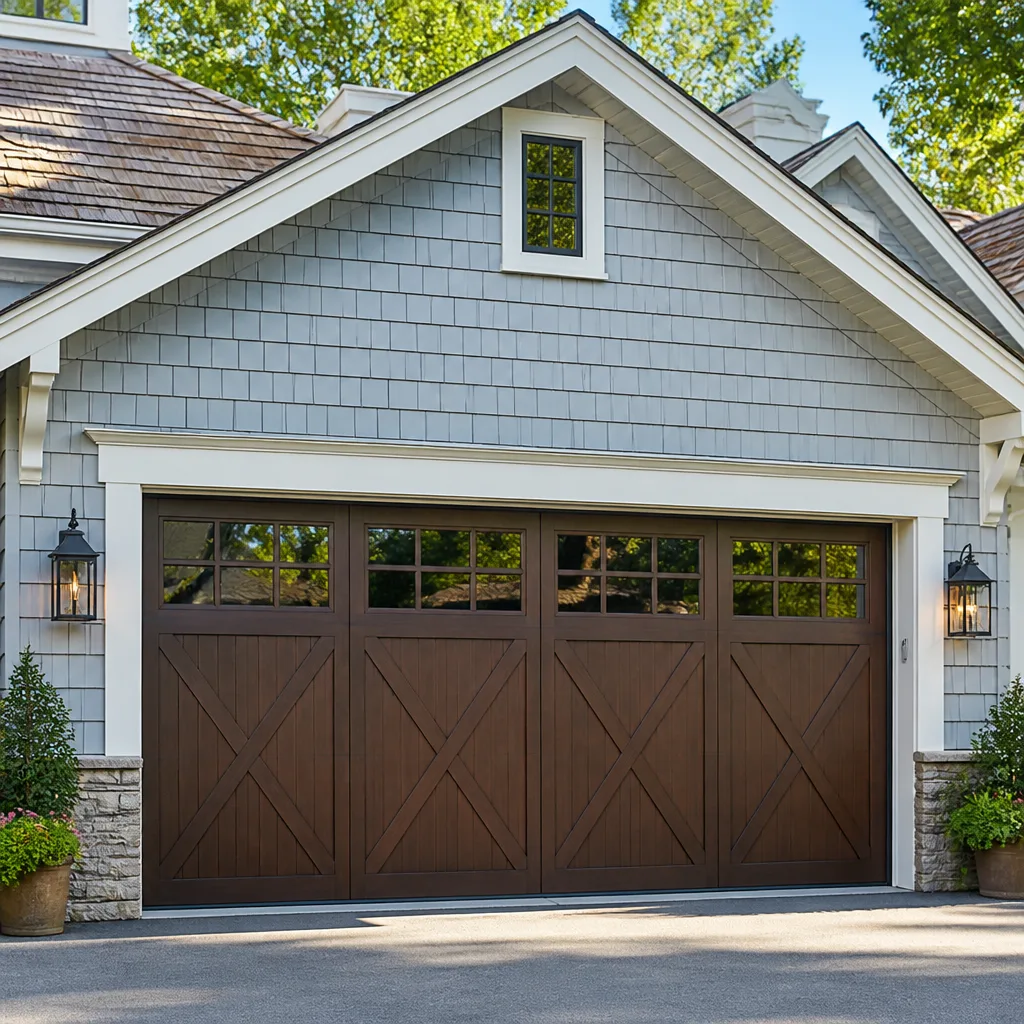 Carriage house
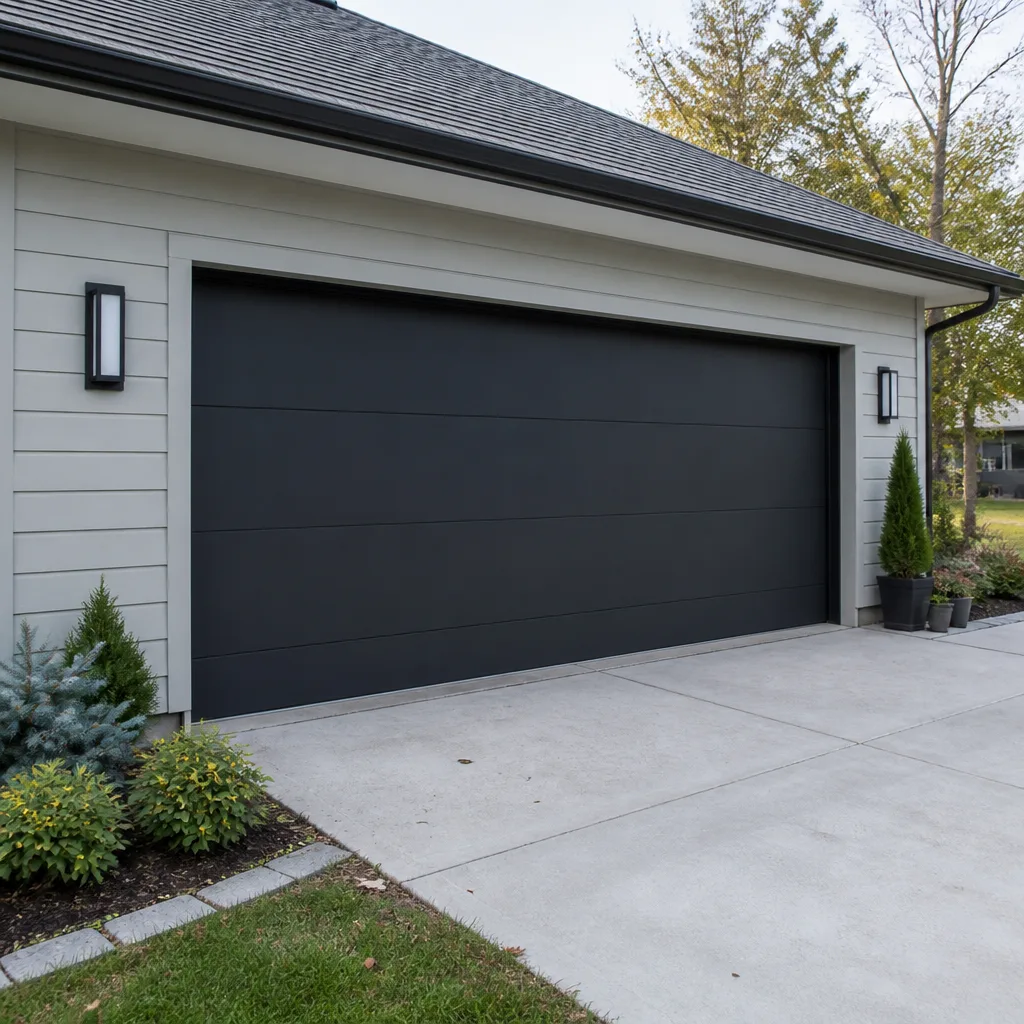 Modern flush
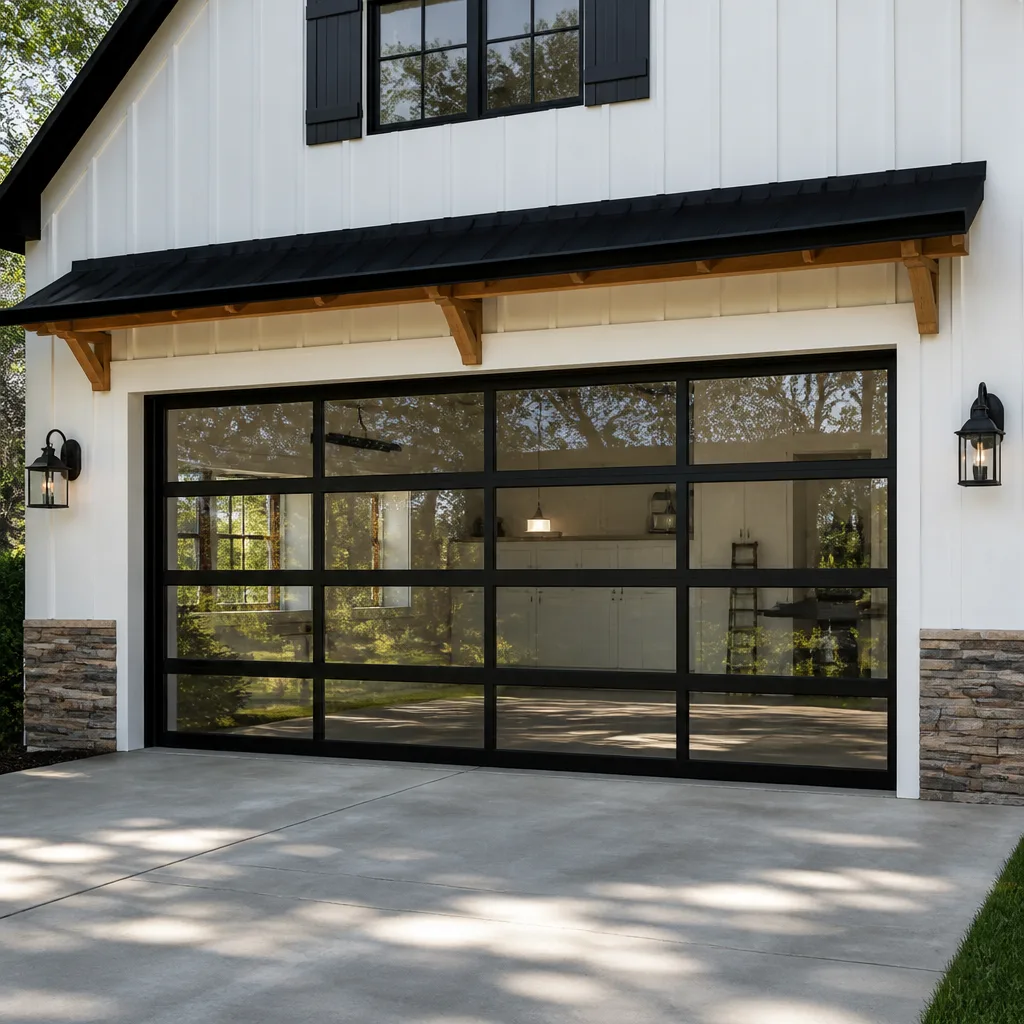 Full-view glass
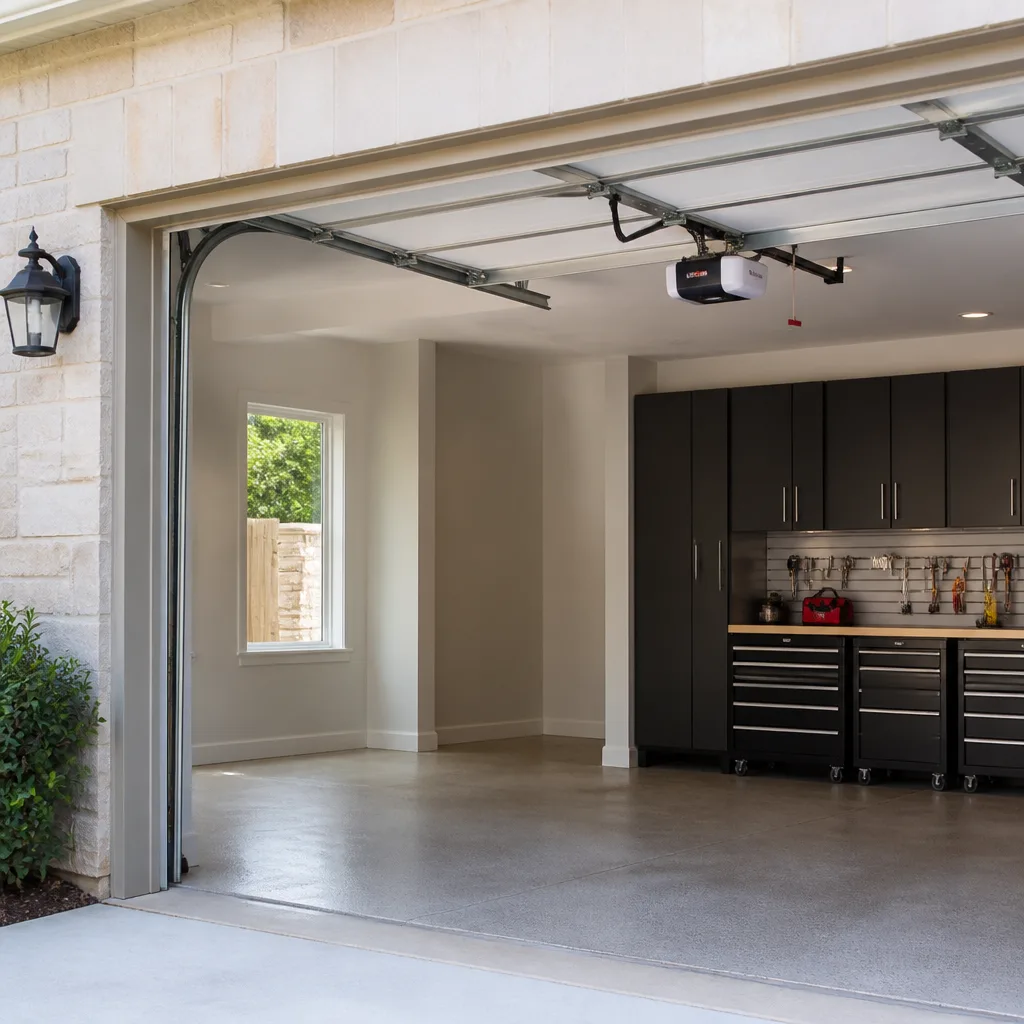 LiftMaster openers
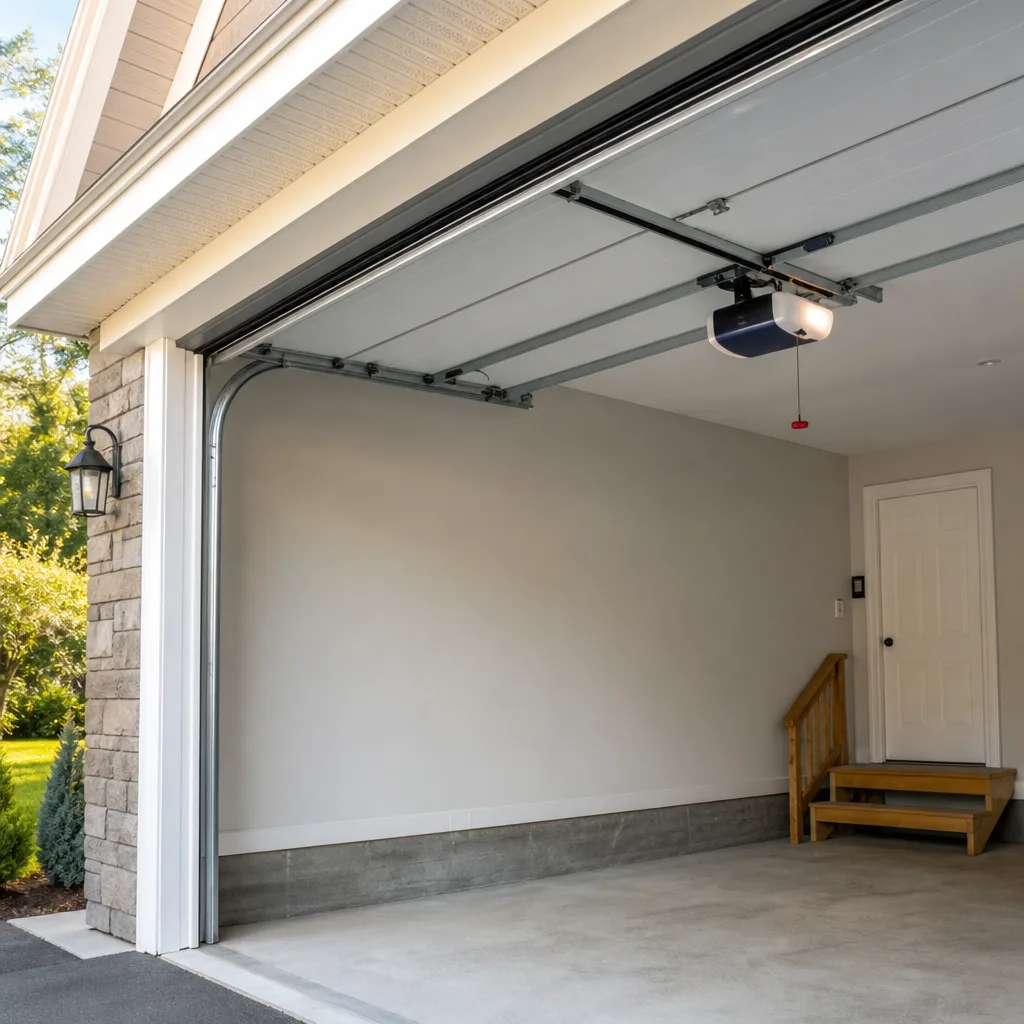 Chamberlain openers
Full 25-point door and opener safety check with every visit - springs, cables, rollers, tracks, and your LiftMaster or Chamberlain opener included
You get a price before we start. It does not change when the truck arrives.
Get your free estimateGarage Door Repair Maintenance Checklist for San Antonio Homeowners
The number-one call Marlow gets in August isn’t “my door won’t open.” It’s “my door worked fine yesterday.” San Antonio’s summer heat does something specific to garage doors that most generic maintenance guides never mention: the metal track and door panels expand overnight, tightening the whole system by a few critical millimeters. A motor that hummed happily in April can stall in mid-August without a single part technically “breaking.” This guide is built around what actually fails in Bexar County, not what fails in Ohio. You’ll get a real month-by-month calendar, the lubricants that survive 105°F without turning to glue, and a clear line for every task: do this yourself, or stop here and call a pro.
Styles & brands we work with
Quick Answer
A proper garage door maintenance checklist for San Antonio homes means servicing your door in two seasons, not four: prep it in April for summer heat, and inspect it in October after storm season. Focus on the bottom seal, track alignment, spring balance, and roller condition. Use a dry lithium spray lubricant rated above 100°F, never a wet silicone that attracts caliche dust. At least half the maintenance that matters takes about 20 minutes per session, and it’ll save you a $225 service call in July.
Table of Contents
- Why San Antonio’s Climate Eats Garage Doors Differently
- The Five Components That Fail Most in San Antonio, Ranked
- A Month-by-Month Maintenance Calendar for Bexar County
- Lubricants That Actually Work Above 100°F
- How to Test Spring Tension Without Touching the Spring
- Track and Roller Checks You Can Do in 10 Minutes
- Bottom Seals, Weatherstripping, and the Thermal Expansion Problem
- Stop Here, Call a Pro: The Honest DIY Line for Every Task
- Common Mistakes to Avoid
- When to Call a Professional
- Frequently Asked Questions
- The Bottom Line
Why San Antonio’s Climate Eats Garage Doors Differently
San Antonio garage doors face three forces that a door in Minneapolis or Seattle never has to survive. First, sustained heat above 100°F for weeks at a time. Second, caliche dust, that fine white limestone powder that coats everything and works its way into roller bearings. Third, sudden Hill Country storms with 40 mph gusts and golf-ball hail that slam into a door face already stressed by afternoon sun. None of these show up in a standard “lubricate twice a year” checklist from a national brand.
Here’s what that means practically. When the metal track on a west-facing door in Alamo Ranch or Stone Oak hits 130°F in direct afternoon sun, it expands lengthwise. The door, which was perfectly aligned at 9 a.m., is now fighting a track that’s 1/16″ narrower than it was. The motor’s limit settings struggle. The safety sensors read the strain as an obstruction and reverse the door. The homeowner thinks the opener died. In most cases, the opener is fine. The track just needs a small adjustment for the season, or the sensor eyes need cleaning after a dust storm.
We’ve also noticed a pattern in our own San Antonio service calls: the first two weeks of June and the first two weeks after Labor Day are peak “my door opened fine yesterday” weeks. That’s not coincidence. That’s the seasonal shift compressing years of accumulated dirt and micro-wear into a failure point. A maintenance routine that understands this pattern can fix most of these before the door stalls on a Monday morning when you’re already late.
The Five Components That Fail Most in San Antonio, Ranked
Based on our service call data across garage door repair in San Antonio, here are the five components that fail most often, ranked by how cheap they are to address proactively compared to what they cost to fix reactively after they’ve broken. The dollar figures are what a typical homeowner in Bexar County can expect.
- Bottom seal and weatherstripping: This fails constantly in San Antonio because it’s exposed to direct UV and 140°F concrete slab temperatures in summer. A replacement seal costs $45 to $90 in parts and takes about 20 minutes for a homeowner to install. If ignored, a cracked seal lets in dust, rain, rodents, and whatever else crawls under. The repair cost doesn’t change much if it’s worse, but the damage to stored items and the increased cooling cost in an attached garage makes this the highest-ROI proactive fix.
- Track roller bearings: Rollers with sealed bearings last about 7 to 10 years in San Antonio’s dust. Nylon rollers with ball bearings run quieter and last longer than steel rollers, and they’re a $12 to $30 DIY part per roller. When they fail, the door can jump its track. That’s a $225 to $400 service call involving realignment, and sometimes a bent track replacement.
- Safety sensor eyes: The photo-eye sensors near the floor get coated in caliche dust and misalign every time a lawn mower or trash can bumps them. Cleaning them and confirming alignment costs nothing and takes 5 minutes. A “broken” sensor usually just needs a wipe and a nudge. If one truly fails, it’s a $45 to $80 part.
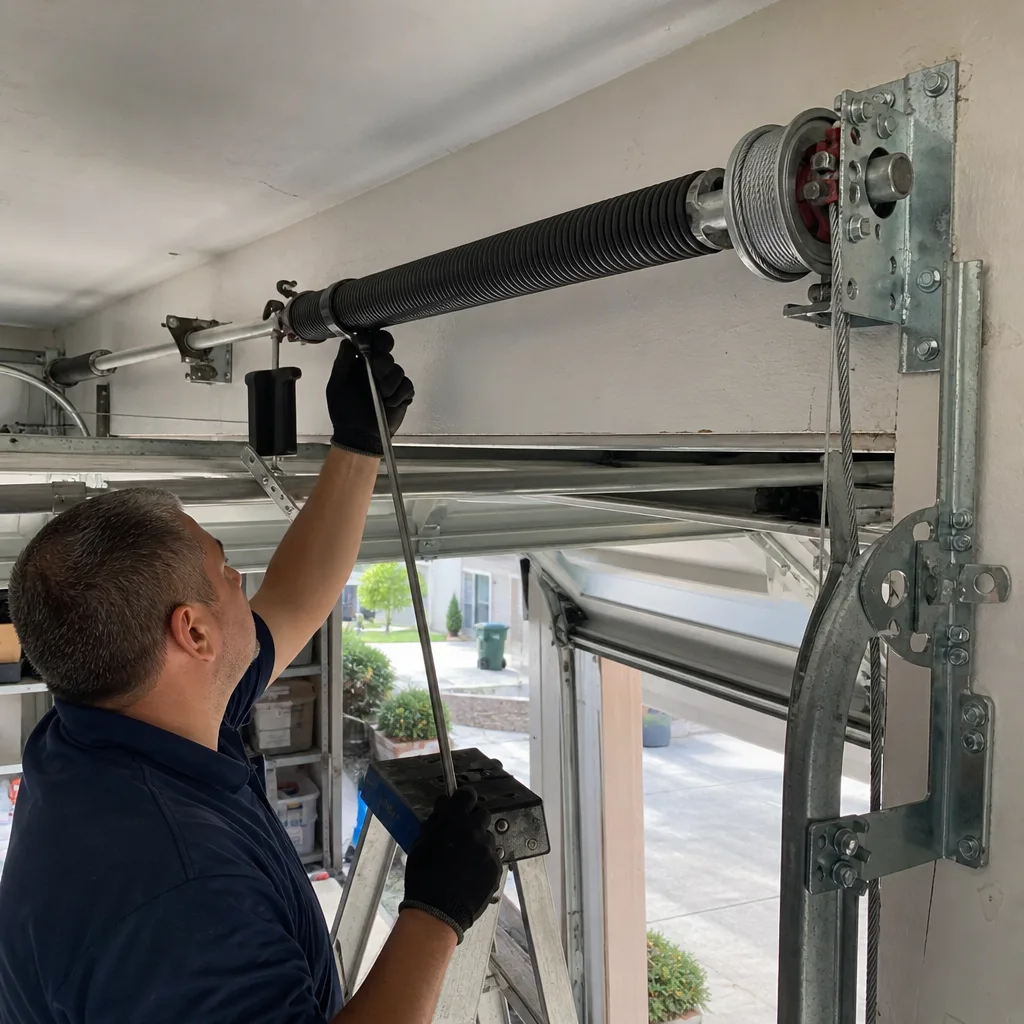
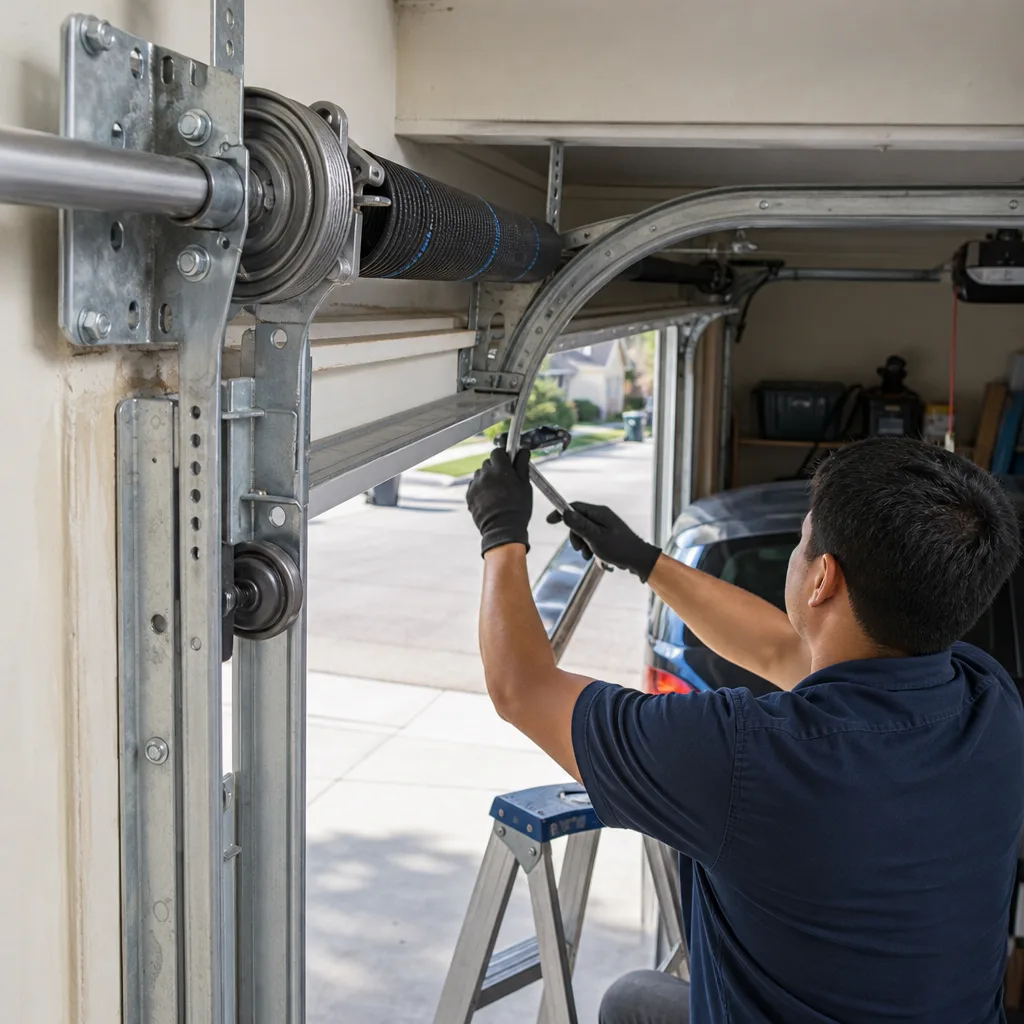
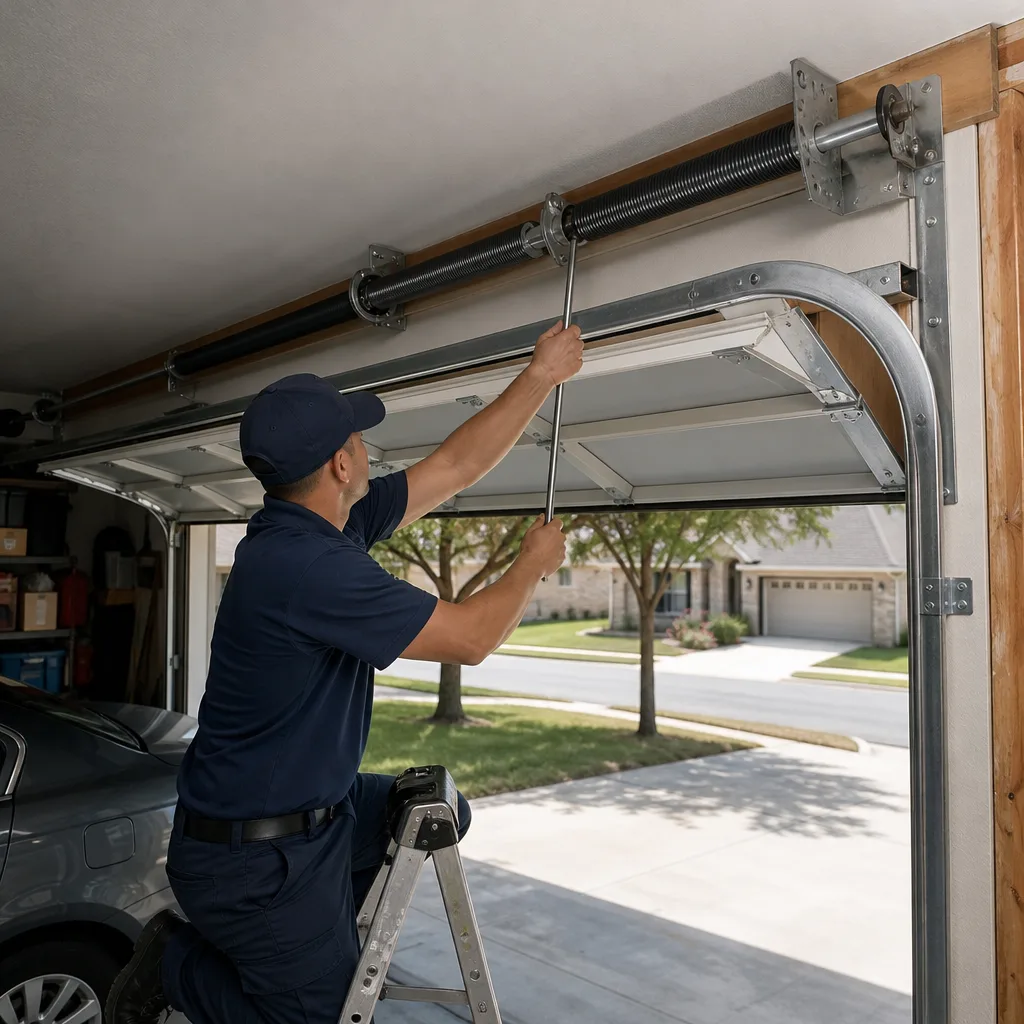
- Torsion springs: The pair of horizontal coils above the door does the actual lifting. In San Antonio, the heat doesn’t break springs; the cumulative fatigue of daily cycles does. Every opening is one cycle. A standard spring lasts about 10,000 cycles, which for a door opened 4 times a day is roughly 7 years. A spring replacement typically runs $150 to $290 per spring type, and you can’t safely do this yourself. The good news: when one spring in the pair breaks, the other is close behind, which is why garage door spring repair in San Antonio techs recommend replacing both at once.
- Lift cables: The steel cables that run along each side of the door do the actual lifting when the spring’s tension is released. In San Antonio, we see cable fraying most often in doors that sit in direct afternoon sun, because the cable’s galvanized coating degrades faster at 130°F-plus. A single cable replacement is $95 to $175 in parts and labor. If a cable snaps mid-lift, the door can slam down unevenly and bend the track or worse. That’s where garage door cable repair in San Antonio stops being optional.
The ranked order of cheapest-proactive-to-most-expensive-reactive isn’t the order of worst failure. A snapped spring is dramatic and dangerous. A torn bottom seal is boring and ignored. But the math is clear: $45 now beats $225 later, and $25 of lubricant applied correctly beats a $160 roller replacement. This is the core philosophy of a useful maintenance routine.
A Month-by-Month Maintenance Calendar for Bexar County
Most national garage door checklists assume four seasons. San Antonio has two main ones: the wet, stormy shoulder seasons and the long, brutal dry heat of late spring through early fall. Here’s the calendar that reflects how the year actually behaves here, from the perspective of a tech who works doors across the city every week.
April: Summer Prep, the Big One
This is the single most important maintenance session of the year. It’s the transition from mild temperatures to sustained heat, and you want to give every component its best shot before the metal starts expanding.
- Lubricate all moving metal parts with a dry lithium spray (the full lubricant guide is below in the next section).
- Inspect the bottom seal along its entire length for cracks, especially at the corners where the seal folds into the track.
- Clean the safety sensor eyes with a dry microfiber cloth. Don’t use Windex or anything with ammonia; it can fog the plastic lens.
- Test the door balance (the exact procedure is below in the spring tension section). If the door sags or drops, call a professional before the hard summer use begins.
- Listen to the door for a full open-close cycle. Grinding, squealing, or uneven movement means a roller or bearing issue that’s easier to fix now than in August.
May through September: The Heat Endurance Season
During the hot months, you’re not doing heavy maintenance. You’re watching for heat-related drift. Every four weeks, do a quick visual check: does the door look even in its tracks? Is it making new noises? Are the sensor eyes still aligned and clean, especially after a dust storm or wind event? Don’t lubricate again unless a specific part is dry or squeaking; over-lubricating in dust season just makes a paste.
October: Post-Storm Inspection
After the last big thunderstorm pulse of the Hill Country storm season, do a more thorough check. Hail and high wind can dent the door face without the homeowner noticing from inside. A dented section can drag against the track edge and wear out rollers unevenly. Check for water intrusion too: if there’s a wet line on the concrete where the door meets the slab, the bottom seal is torn and should be replaced before winter’s cooler, damper nights.
November through March: The Off-Season
This is the easy season for San Antonio doors. Temperatures are mild, dust is lower, and the door isn’t fighting thermal expansion. Use this time for cosmetic checks and any deferred repairs you’ve been putting off. If a roller was squeaking in September, fix it now, not in June. A garage door tune-up in November is also cheaper to schedule because demand drops.
Lubricants That Actually Work Above 100°F
Here’s the thing that generic garage door checklists almost never address: the lubricant that works perfectly in Ohio turns into a sticky, caliche-dust-caked mess on a San Antonio door by July. The heat and the dust work together to defeat the standard “silicone spray everything” advice.
What actually works? A dry lithium lubricant spray, or a garage-door-specific dry lubricant from a brand like Chamberlain or Genie. “Dry” is the key word. The carrier evaporates after application, leaving a thin solid film that doesn’t attract dust. Wet silicone sprays leave a sticky residue that captures caliche particles like flypaper. After three weeks of that, your rollers feel like they’re rolling through gritty peanut butter.
What you’re lubricating, specifically: the hinges, the roller stems, the lock mechanism, and the torsion spring. You are not lubricating the track itself, despite what half the internet says. A lubricated track just gets a paste of oil and dust smeared into the corners, and the paste ends up on the roller wheels anyway. If the track feels rough or has visible rust, wipe it with a clean dry rag. If it’s genuinely dirty, a very light wipe with a damp cloth followed by a dry one is plenty. Don’t oil it.
Application tips: apply the lubricant in a thin, even coat. More is not better. One pass down a spring is enough. If it’s dripping when you’re done, you’ve used too much. Wipe excess with a rag. Do this with the door closed, so the spring is under tension and you can reach all of it without a ladder. And always wear safety glasses; even a “safe” task near a spring deserves eye protection.
How to Test Spring Tension Without Touching the Spring
Torsion springs store an enormous amount of energy. In San Antonio’s heat, the metal is already stressed. You do not need to touch the spring to test its tension; in fact, you shouldn’t. Here are the visual and sound checks any homeowner can do safely.
- The balance test: Close the door. Pull the red emergency release cord, which disconnects the door from the opener carriage. Now manually lift the door by the bottom handle. Pay attention to how heavy it feels. It should lift smoothly with moderate effort and stay open about three feet off the ground without support. If the door feels extremely heavy, that’s not “old age.” That’s the spring losing tension. If it wants to slam down, the spring is weak. In either case, call a professional. Do not try to adjust the spring yourself.
- The sound check: With the door in motion, listen for a sharp “snap” or “bang” followed by uneven lifting. That’s a broken spring, and no, it doesn’t always throw the door dramatically across the track. Sometimes it’s quiet and the opener motor just labors more. If you hear it, stop using the door and call garage door spring repair in San Antonio.
- The visual check: Stand to the side (not directly below the spring) and look at the gap between spring coils. Both springs should have evenly spaced coils along their entire length. If you see a two-inch gap in the middle of a spring, or coils touching in one spot, the spring is broken. The coils open up where the break happened. Again, don’t get close and don’t try to fix it.
- The lift check: Watch the door from inside during a full open-close cycle. It should rise and fall evenly, with no wobble or jerking. A door that shudders or pauses halfway usually means one spring is doing all the work because the other is broken or the cables are uneven. This is the exact scenario where garage door cable repair in San Antonio matters, because when one cable fails, the remaining one is under double stress.
The safety line is simple: if any of these checks shows a problem, you’ve learned enough. Leave the spring alone. The tooling to replace a torsion spring costs more than the repair itself, and the risk of doing it wrong is a spring under 130 pounds of rotational force that can break a wrist or worse. This is the one component where “call a pro” is a hard line, not a suggestion.
Track and Roller Checks You Can Do in 10 Minutes
Track and roller problems are the most common cause of a door that “suddenly” stops working, and in San Antonio they’re usually heat-related. Here’s the 10-minute routine that catches the problem before the door stalls.
- With the door closed, run your finger along the inside edge of each vertical track where the roller stems slide. You’re feeling for bends, dents, or roughness. A track that’s been hit by a car bumper or shifted by heat expansion will have a flat spot or a slight kink.
- Sight down the length of each track from the top. The track should run parallel to the door panel edge with a consistent gap. If the gap narrows at one point, that’s misalignment.
- Check the bolts that hold the track brackets to the wall and ceiling. Hand-tighten any loose ones with a socket wrench. Do not try to bend or reshape a dented track; that’s a replacement job.
- Inspect each roller wheel for chips, flat spots, or wobble. Nylon rollers wear quieter but do degrade, especially in San Antonio’s UV-soaked garage interiors. Steel rollers last longer but get noisy once the bearing dries out.
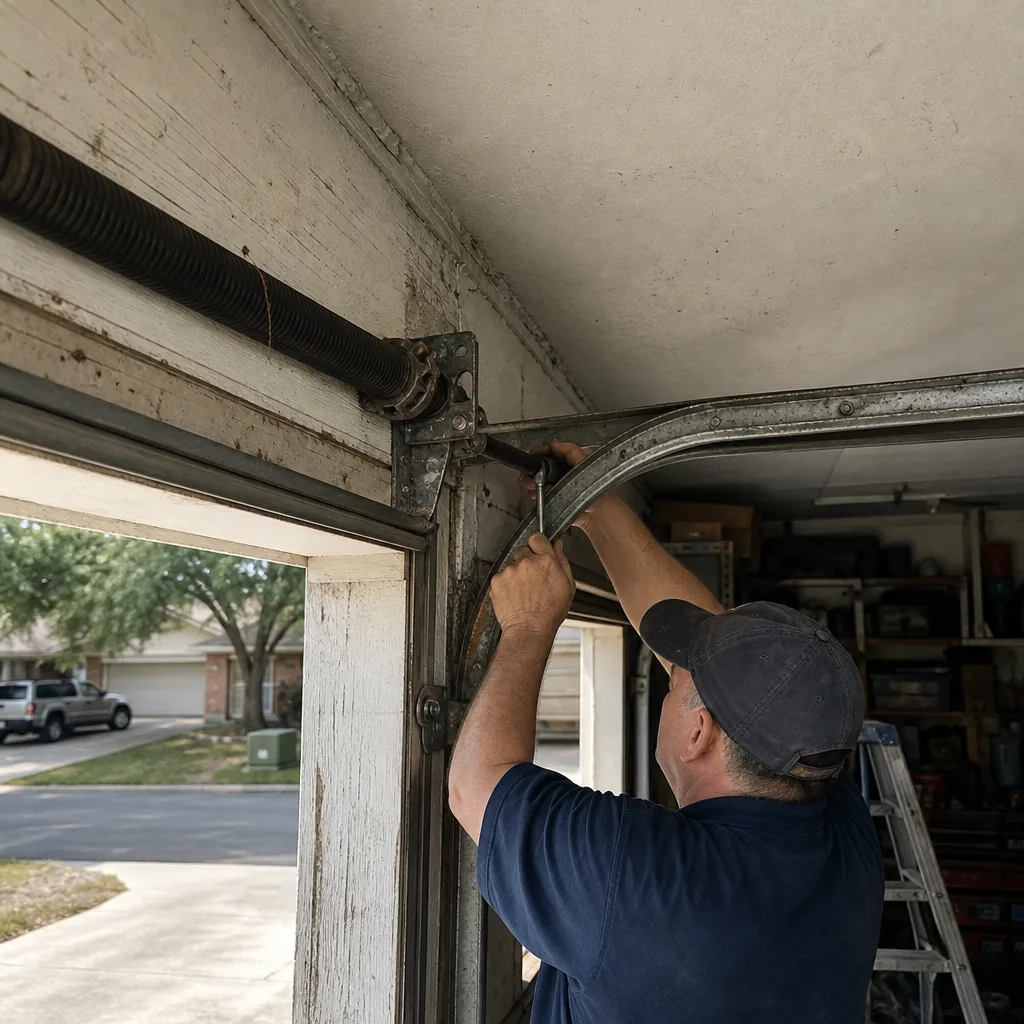
- Run the door and watch the gap between the roller stem and the track slot. If a roller is making contact with the track edge or visibly wobbling, it’s failing and should be replaced. Roller replacement is a $12 to $30 DIY part for most doors, but it requires releasing the track bracket, which is under tension. If you’re not comfortable removing and reinstalling a track bracket, call a professional.
One San Antonio-specific note: in neighborhoods like Terrell Hills or Castle Hills where garage doors are often original to 1970s and 1980s homes, the tracks are frequently undersized for modern opener motors. A motor from a Chamberlain or Genie unit pulling harder than the track was designed for will gradually bow the track inward. When you see a bow developing, the fix isn’t more lubricant. It’s a track reinforcement or replacement. The sooner that’s caught, the cheaper it is.
Bottom Seals, Weatherstripping, and the Thermal Expansion Problem
Remember the thesis from the top of this guide: the real enemy in San Antonio isn’t friction, it’s thermal expansion. The bottom seal is where that plays out most visibly. In a normal garage door installation, the bottom seal is a rubber or vinyl strip that compresses against the concrete slab to keep out water, dust, leaves, and whatever the Hill Country wind blows under. In San Antonio, the slab itself absorbs heat all day and radiates it back at night. The seal sits against that hot concrete, expands during the day, contracts at night, and after a few summers of that daily cycle, it cracks.
The crack almost always starts at the corners, where the seal makes the tightest bend into the side weatherstripping. But it can also split in the middle if the slab has a slight rise or a crack. When it splits, you get a permanent gap. In an attached garage, that gap lets in not just dust but also humid air that makes the garage even hotter in summer and colder in winter, and it provides a highway for scorpions and other Bexar County creatures.
Replacement is straightforward. Pull the old seal out of its T-channel, measure the door width, cut a new one from a roll (available at any hardware store, but get a good thick vinyl, not the cheap foam-backed option), and slide it in. The whole job takes 15 minutes. For most San Antonio garages, a new bottom seal every 3 to 4 years is normal. If you’re seeing cracks sooner than that, the seal is drying out from UV exposure, and you might want a model with better UV inhibitors from a brand like Clopay or Amarr, which are common on higher-end homes in the Dominion and Shavano Park.
Side weatherstripping, the rubber flaps that run along the outside edges of the door, has the same hot-concrete problem on the bottom few inches. Check it when you check the bottom seal. If the flap is curled, cracked, or hardening, it’s time for replacement. It’s a cosmetic fix that also keeps out dust and rain, and it usually costs about the same as the bottom seal.
Stop Here, Call a Pro: The Honest DIY Line for Every Task
Every task in this guide has a line where DIY stops being smart and starts being dangerous. Here’s the explicit line for each one, so you never wonder whether you’re in over your head.
- Bottom seal replacement: DIY is fine as long as the old seal slides out easily and the new one slides in without force. If the T-channel is bent, cracked, or the seal is glued in with ancient adhesive, call a pro. A replacement retainer runs $50 to $100 in parts and beating on it with a hammer will make it worse.
- Roller replacement: DIY is fine for the top and bottom rollers on doors with tilt-up hinges. But roller replacement on a standard sectional door requires removing the track bracket, which is under spring tension. If you don’t own a winding bar set and don’t know what “unwinding” a spring means, don’t do it. That’s a professional’s 30-minute job, and it’s typically $100 to $160 for roller replacement including parts.
- Safety sensor cleaning: DIY is always fine. It’s a wipe and a nudge. If cleaning doesn’t fix the problem and the sensor lights still don’t line up, the sensor or its wiring has failed, and you need a pro.
- Lubrication: DIY is fine for every lubricated part. But wear safety glasses if you’re spraying a torsion spring, because a spring under tension can release small metal fragments at high velocity if it’s already fatiguing, and a spray canister pointed at a broken spring is a bad combination.
- Spring tension test: DIY is fine for the balance test and sound check. DIY is never fine for adjusting, replacing, or “one full turn tighter” on a torsion spring. That line doesn’t move based on how handy you are. Torsion springs store enough energy to break bone. The cost of a professional replacement, $150 to $290 for a typical pair in San Antonio, is less than an emergency room copay.
Common Mistakes to Avoid
- Lubricating the track. This is the single most common mistake we see in San Antonio garages, usually from a well-intentioned weekend with a can of WD-40. Lubricate the rollers and hinges; never the track itself. A greasy track in Bexar County just becomes a dust-caked track.
- Using wet silicone spray “because it says garage door on the can.” Wet silicone lubricants leave a sticky film. Caliche dust sticks to it like it’s magnetic. In San Antonio, the only acceptable lubricant is a dry lithium or dry PTFE spray. If the can says “wet,” put it back.
- Ignoring the bottom seal because “it’s just cosmetic.” A cracked bottom seal is the gateway to everything else: dust, water, scorpions, higher cooling costs, and premature rust on the door bottom. It’s a $45 to $90 fix that prevents hundreds in downstream issues.
- Testing spring tension by grabbing the spring and shaking it. This sounds obvious, but we’ve seen it. Don’t touch the spring. Ever. The balance test described above is all you need.
- Replacing only one spring when one breaks. This is a tempting cost-saver, but the remaining spring is almost always at the same point in its life cycle. You’ll pay twice for labor when the second one fails in six months. Replace both springs at once.
- Waiting until the door fails to do anything. San Antonio’s two failure peaks are June and September. Both are avoidable with the April and October sessions described above. The door doesn’t give you a dashboard warning light; it goes from fine to failed. Your maintenance calendar is the only warning system you have.
- Misdiagnosing a heat-expansion stall as “the motor is dead.” When the door stalls in August, it’s almost never the motor. It’s the track, the sensor alignment, or a spring at the end of its life. Replacing a functioning Chamberlain or LiftMaster opener because of a track misalignment is a $350 mistake that doesn’t fix anything.
When to Call a Professional
Call a professional when the balance test shows the door is too heavy, when you see a visible gap in a spring coil, when a cable is frayed, or when the door jumps the track. None of these are in the DIY zone. Also call if the door makes a sharp snap and then moves unevenly; that’s a broken spring or cable, and continuing to operate the door with one spring working can bend the track and the top panel. Marlow Garage Door Repair San Antonio offers free estimates across San Antonio and the surrounding area, with a written price before any work starts. Call (361) 314-2738 and a live person will answer, day or night.
Frequently Asked Questions
Twice a year is right for most San Antonio doors: once in April before the heat arrives and once in October after storm season. Use a dry lithium or dry PTFE spray, never a wet silicone. Over-lubricating in dust season just creates a gritty paste that accelerates wear.
A DIY maintenance pass costs about $25 to $45 in materials (lubricant, a new bottom seal, maybe a roller or two). A professional garage door tune-up in San Antonio typically runs $80 to $150, depending on what’s inspected and adjusted. If a component like a spring or cable needs replacement, the cost is additional and you should get a written price before any work begins. Call (361) 314-2738 for a free estimate.
Most of the tasks in this guide are DIY-friendly: lubrication, sensor cleaning, bottom seal replacement, and visual inspections. The hard line is anything involving the torsion spring or lifting cables. Those systems are under high tension and are not safe for homeowner repair. If a spring or cable shows any sign of failure, call a professional. The repair cost is less than the risk.
That’s thermal expansion. The metal track expands in the afternoon sun, tightening the space the door needs to move through. The opener motor senses the added resistance and either strains or reverses. It’s often mistaken for a dead opener or bad sensors. A quick track alignment check and sensor cleaning fixes it in most cases. If it keeps happening, the track may need a seasonal adjustment, which a professional can do in about 30 minutes.
Based on our service calls across the city, spring replacement is the most common single component repair, followed closely by cable replacement and track realignment. All three are wear items that fail on a predictable schedule. The good news is that the early warning signs are detectable with the balance test and visual checks in this guide. The earlier they’re caught, the cheaper the repair.
A standard torsion spring is rated for about 10,000 cycles, where one cycle is one open and one close. For a door opened four times a day, that’s roughly seven years. San Antonio’s heat doesn’t shorten the spring’s life directly the way it shortens a bottom seal’s life; it’s the cumulative cycling that matters. When one spring in a pair fails, replace both. The labor cost is roughly the same either way, and the second spring is statistically close behind.
The Bottom Line
A San Antonio garage door doesn’t need a general maintenance routine. It needs a specific one built around what this city actually does to metal: heat expansion, caliche dust, and Hill Country storms. Twice a year, in April and October, take 20 minutes to lubricate with a dry spray, inspect the bottom seal, test the balance, and listen to the door. Catch the cracks before they split, and the worn roller before it jumps the track. Most importantly, respect the hard line at the spring and cables. The door will tell you when it needs help. This guide tells you how to listen. Written by Jaylen Ross, Owner at Marlow Garage Door Repair San Antonio, serving San Antonio since 2002.
See the difference
 Before
 After
After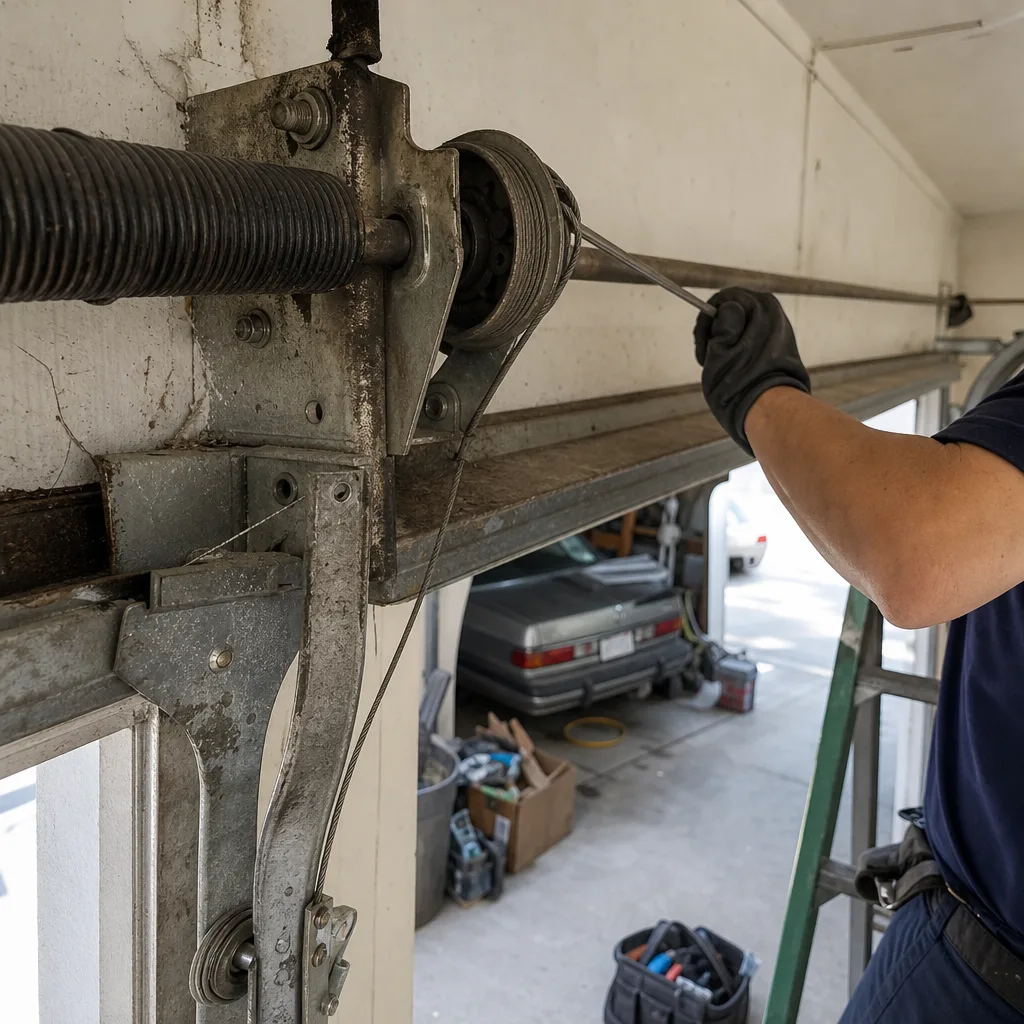 Before
 After
After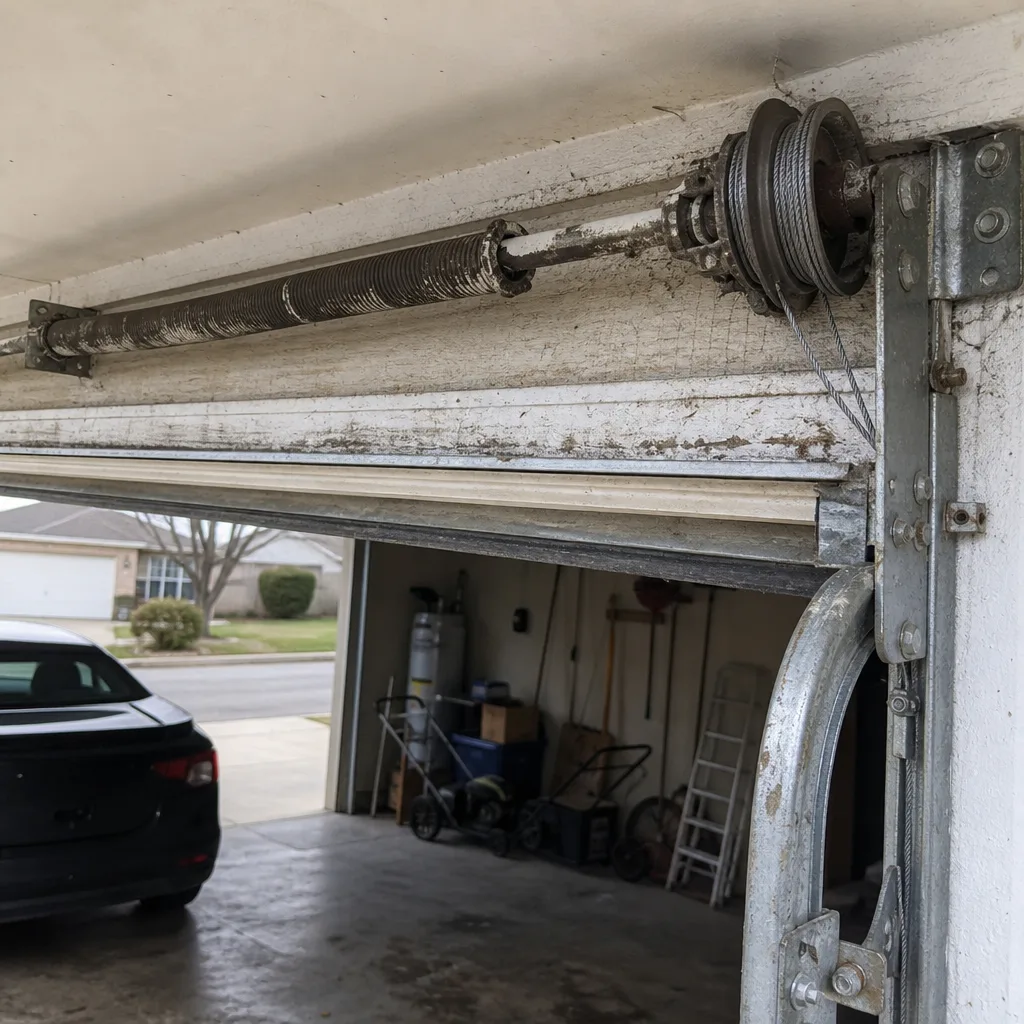 Before
 After
After