
Last updated October 16, 2026
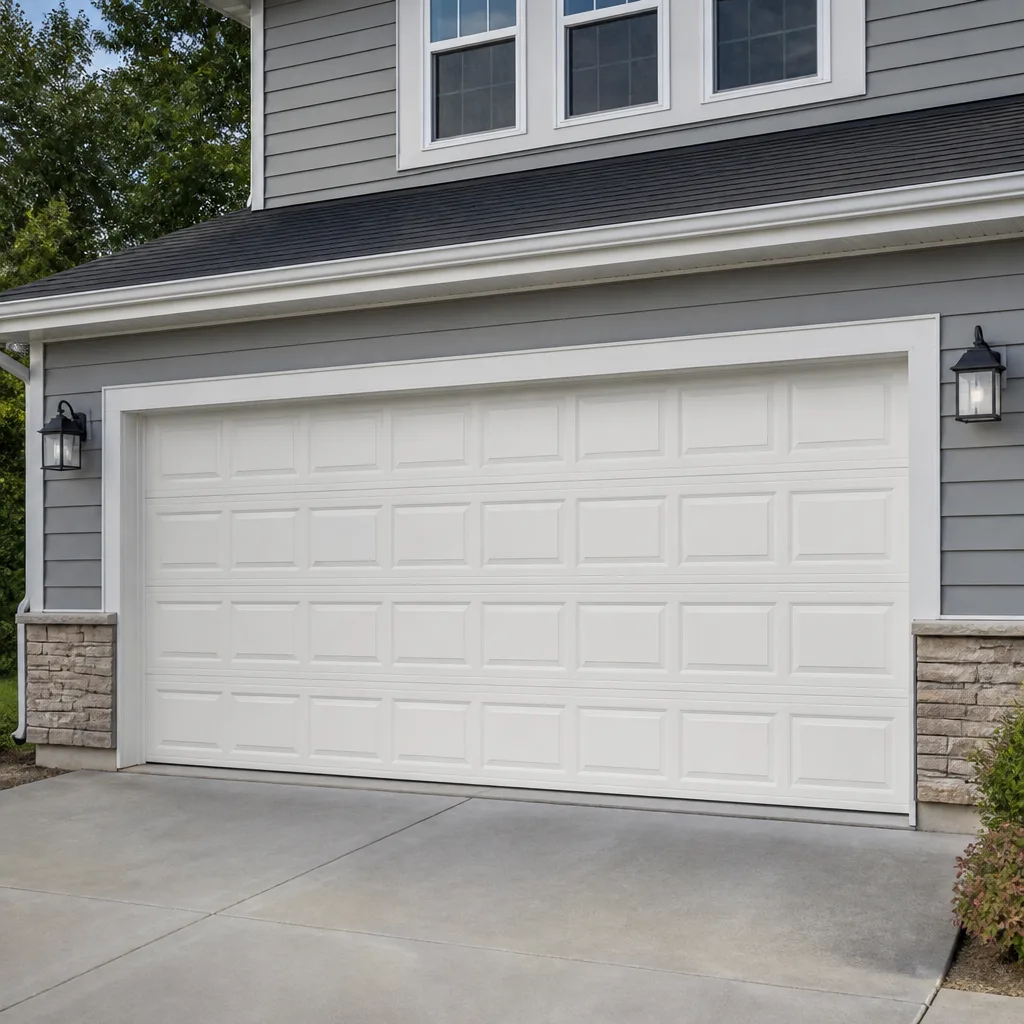 Raised-panel steel
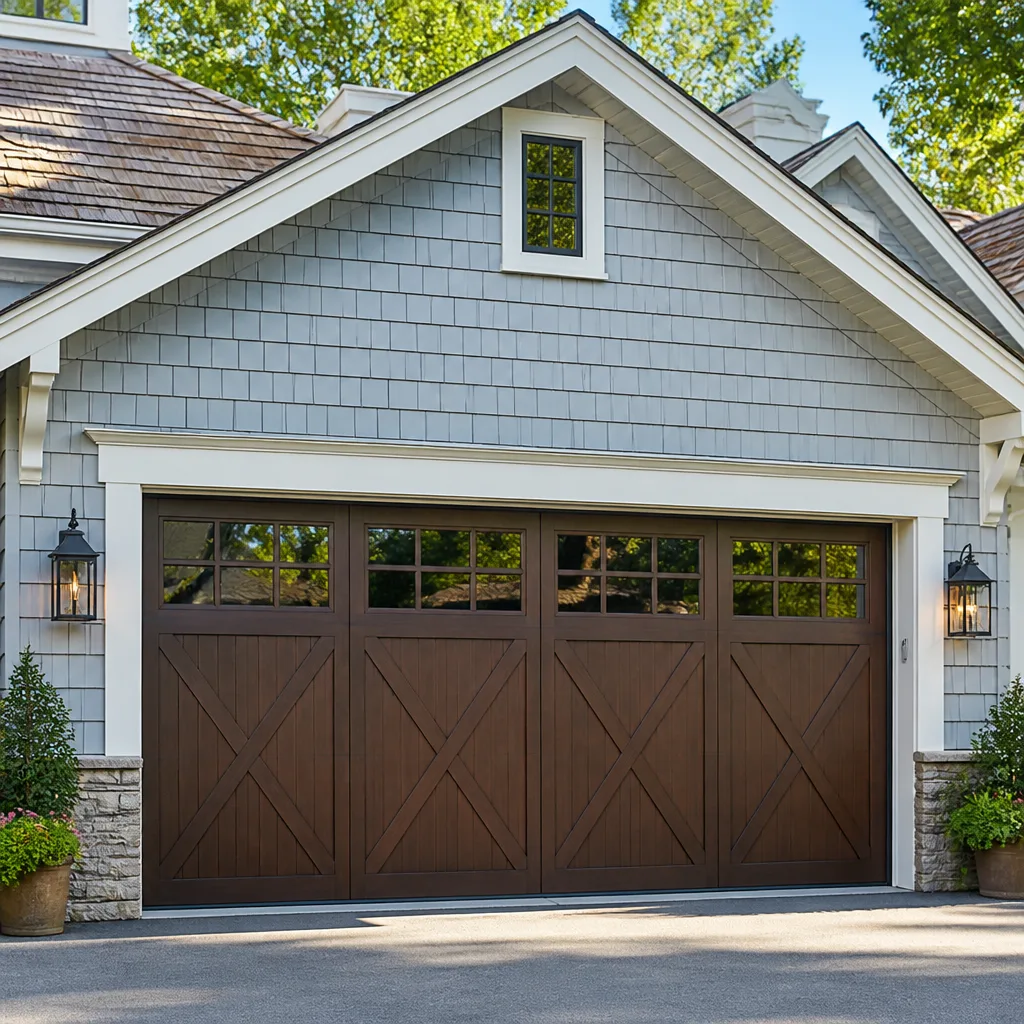 Carriage house
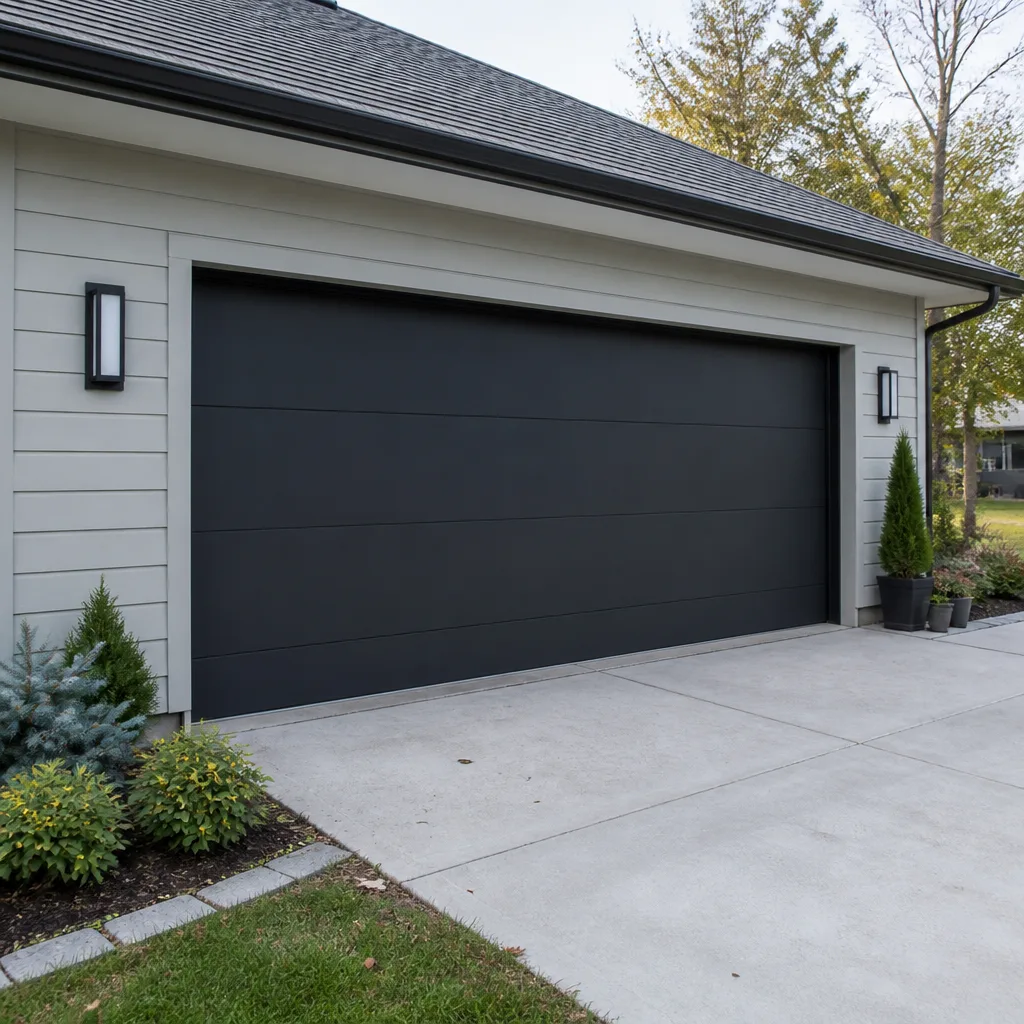 Modern flush
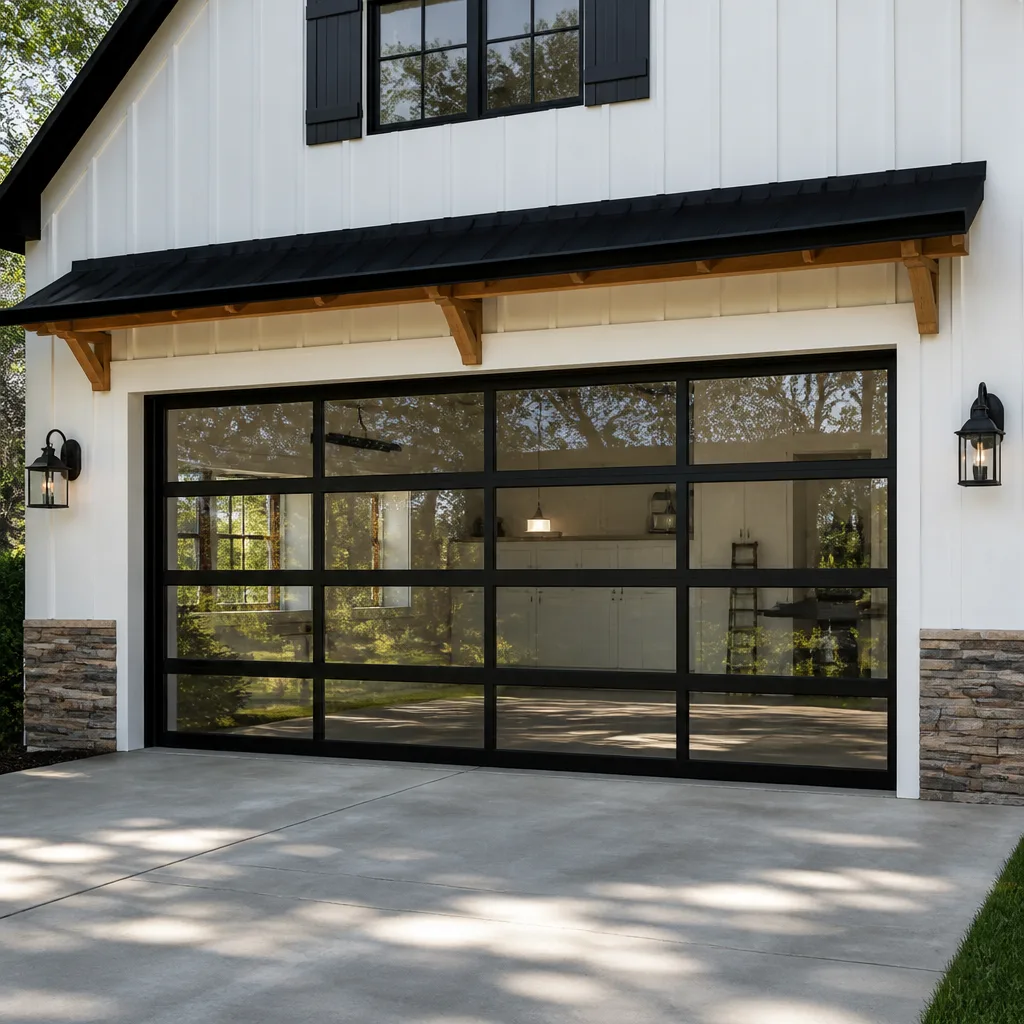 Full-view glass
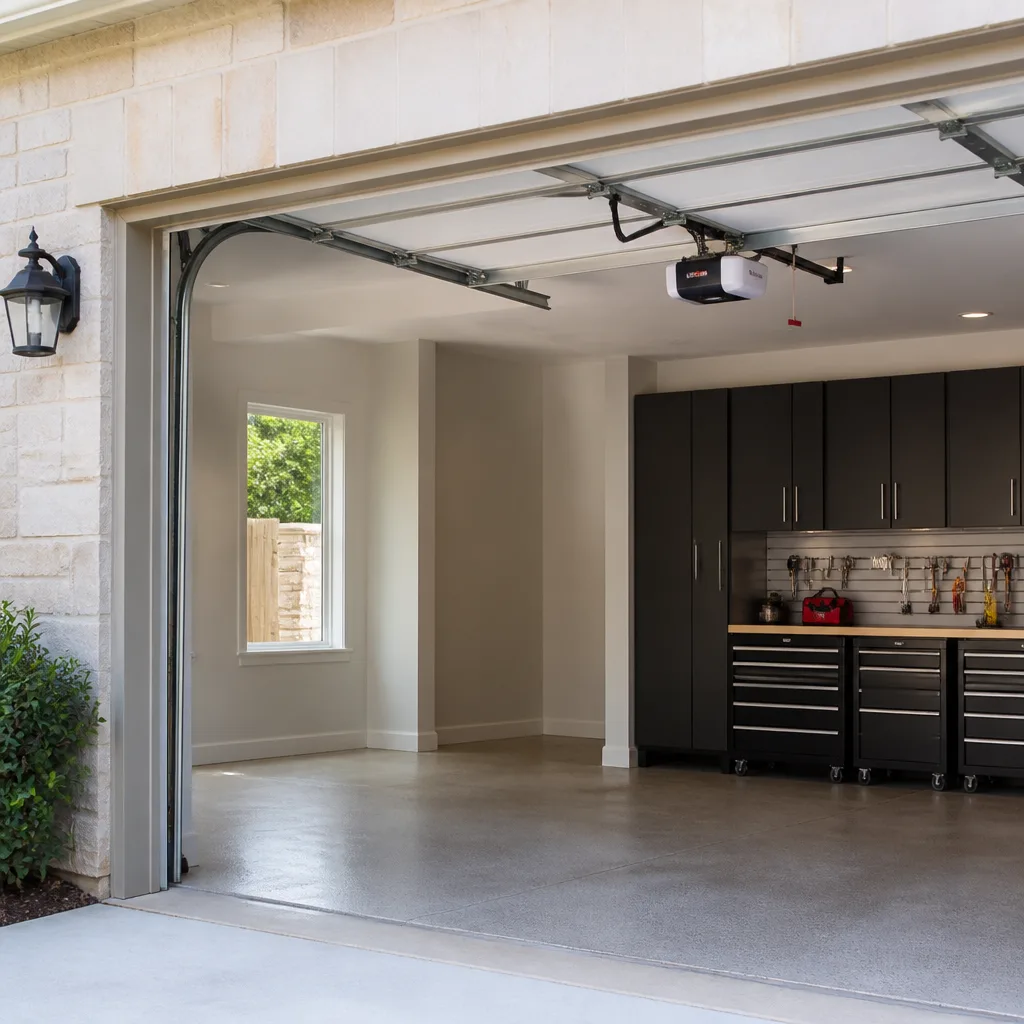 LiftMaster openers
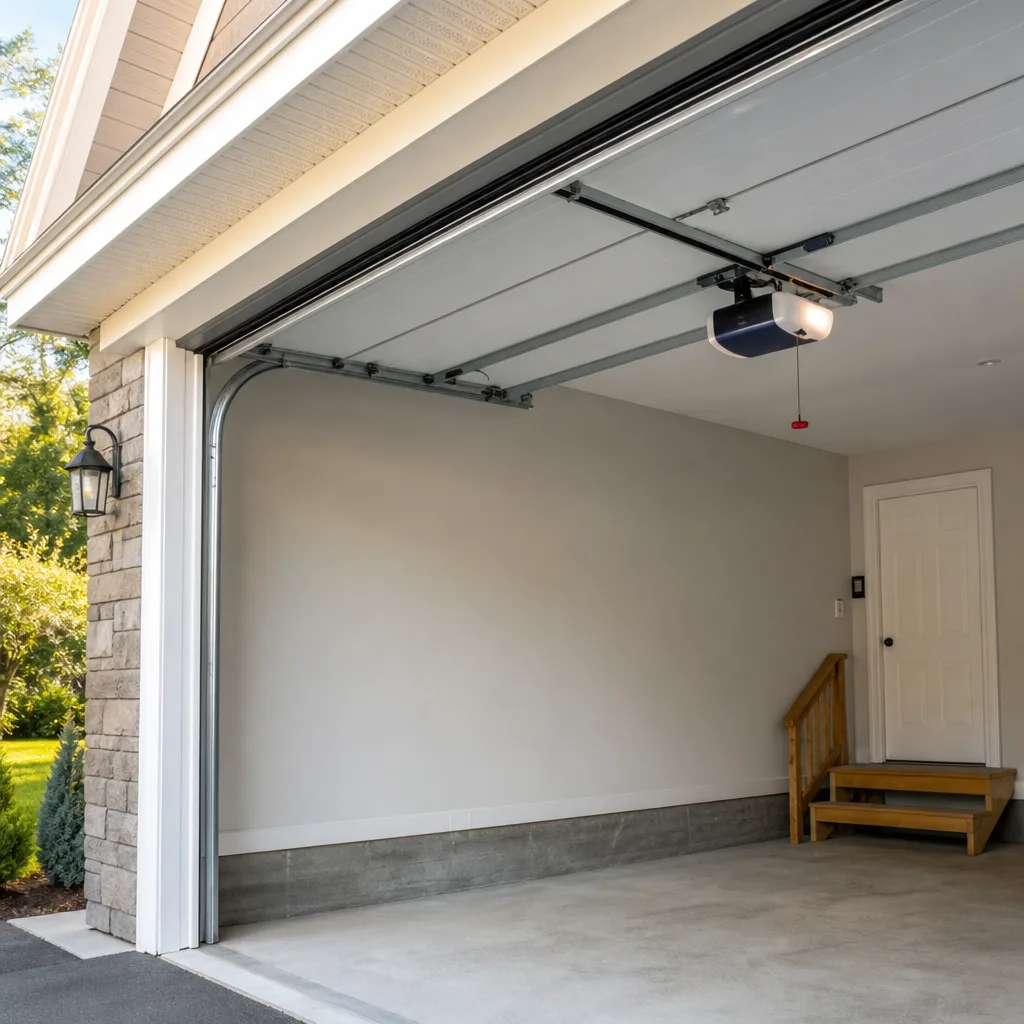 Chamberlain openers
Full 25-point door and opener safety check with every visit - springs, cables, rollers, tracks, and your LiftMaster or Chamberlain opener included
You get a price before we start. It does not change when the truck arrives.
Get your free estimateDIY vs Professional Garage Door: The San Antonio Homeowner’s Decision Guide
Here’s something most garage door guides won’t tell you upfront: the torsion spring mounted above your door stores enough kinetic energy to shatter a forearm. Not because you’re careless. Because the two steel winding bars required to safely release that tension cost about $15 each at Home Depot, and almost nobody owns them until it’s too late. This guide draws the actual line between what you can fix this Saturday morning and what needs a technician, using real prices from San Antonio suppliers and the failure patterns we see every week. For more guides & resources like this, see our full library. By the end, you’ll know exactly which repairs are yours and which ones to hand off before you touch a single bolt.
Quick Answer
Most garage door maintenance in San Antonio is safely DIY: lubricating rollers, replacing weatherstripping, aligning sensors, reprogramming remotes. But torsion spring replacement, cable work under tension, and panel replacement are genuinely dangerous and require a professional. The line isn’t skill, it’s stored energy and access to specialized tools. A safe DIY job costs $15 to $40 in parts. A botched spring repair costs an emergency room visit.
Styles & brands we work with
Table of Contents
- The Real Line: What’s DIY-Safe vs. What’s Not
- What Parts Actually Cost in San Antonio
- The #1 DIY Mistake San Antonio Techs See
- Why July Heat Changes the DIY Calculus
- The 3-Minute Self-Check Before You Book Anyone
- Warranty and Code Reality for San Antonio Homes
- Common Mistakes to Avoid
- When to Call a Professional
The Real Line: What’s DIY-Safe vs. What’s Not
Garage door repair doesn’t split evenly. It splits along one axis: stored energy. If a part stores mechanical energy under tension, the job belongs to a technician. If it doesn’t, a capable homeowner with a socket set and an hour of daylight can usually handle it.
Here’s the breakdown we give homeowners in Alamo Heights, Stone Oak, and everywhere else around San Antonio:
Safe to DIY (no stored tension):
- Weatherstripping and bottom seal replacement: The rubber strip on the bottom of your door hardens in San Antonio heat within 3 to 5 years. You slide the old one out of its track and slide the new one in. Parts run $12 to $25 at any hardware store on Fredricksburg Road.
- Photo-eye sensor realignment: If your door reverses immediately after closing, the two sensors near the floor are likely misaligned. Loosen the wing nut, point both sensors at each other until the indicator lights steady, tighten. Ten minutes, zero parts.
- Remote reprogramming: Every opener from LiftMaster, Genie, and Chamberlain has a learn button on the motor unit. Hold it, press the remote button, done. If you’ve lost the manual, the model number is printed on the motor housing and the PDF is online.
- Lubricating rollers and hinges: Twice a year, spray a white lithium or silicone lubricant on the roller bearings, hinge pins, and the torsion spring itself. One $8 can lasts years. This is the single highest-value maintenance habit for San Antonio homes because grit and humidity wear parts faster here.
- Tightening loose bolts and brackets: Garage doors cycle hundreds of times a month and vibration loosens hardware. A 7/16-inch socket and five minutes handles most of it.
Not DIY (stored tension or structural risk):
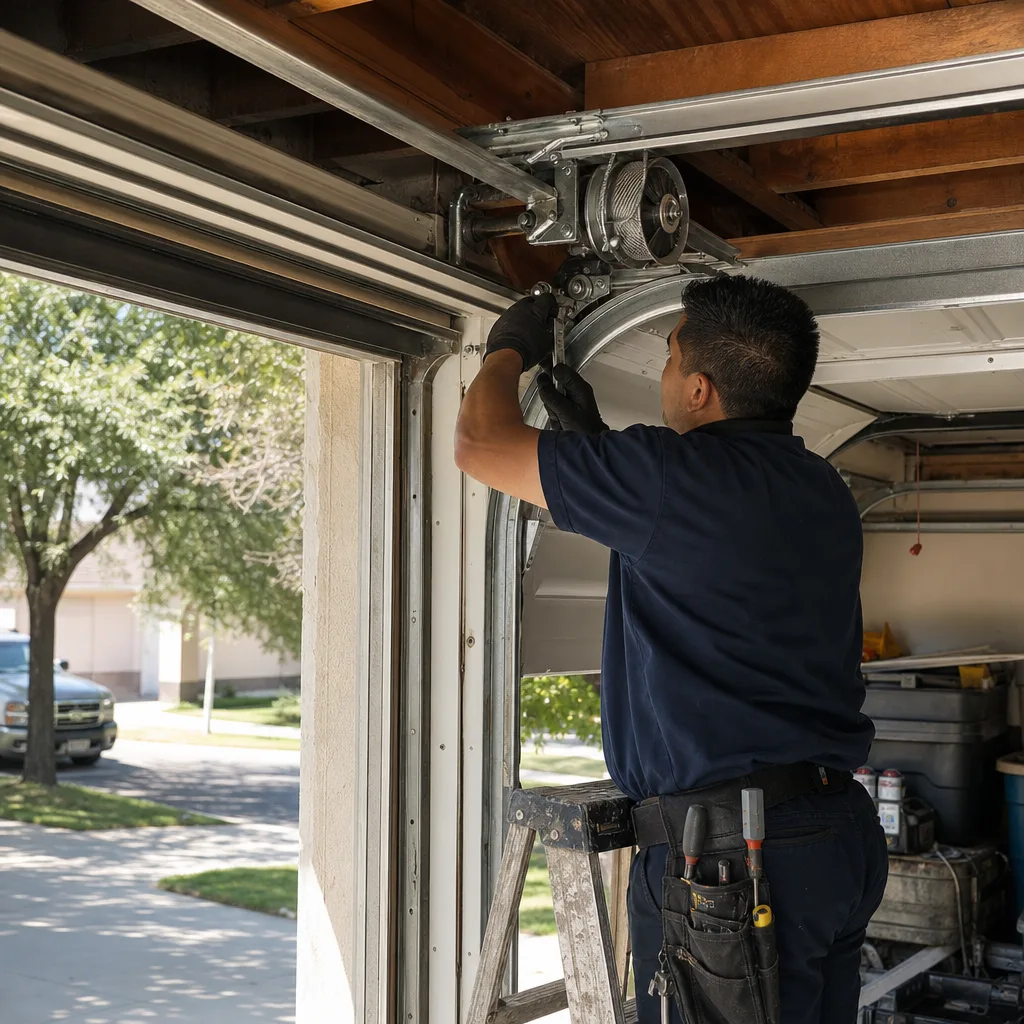
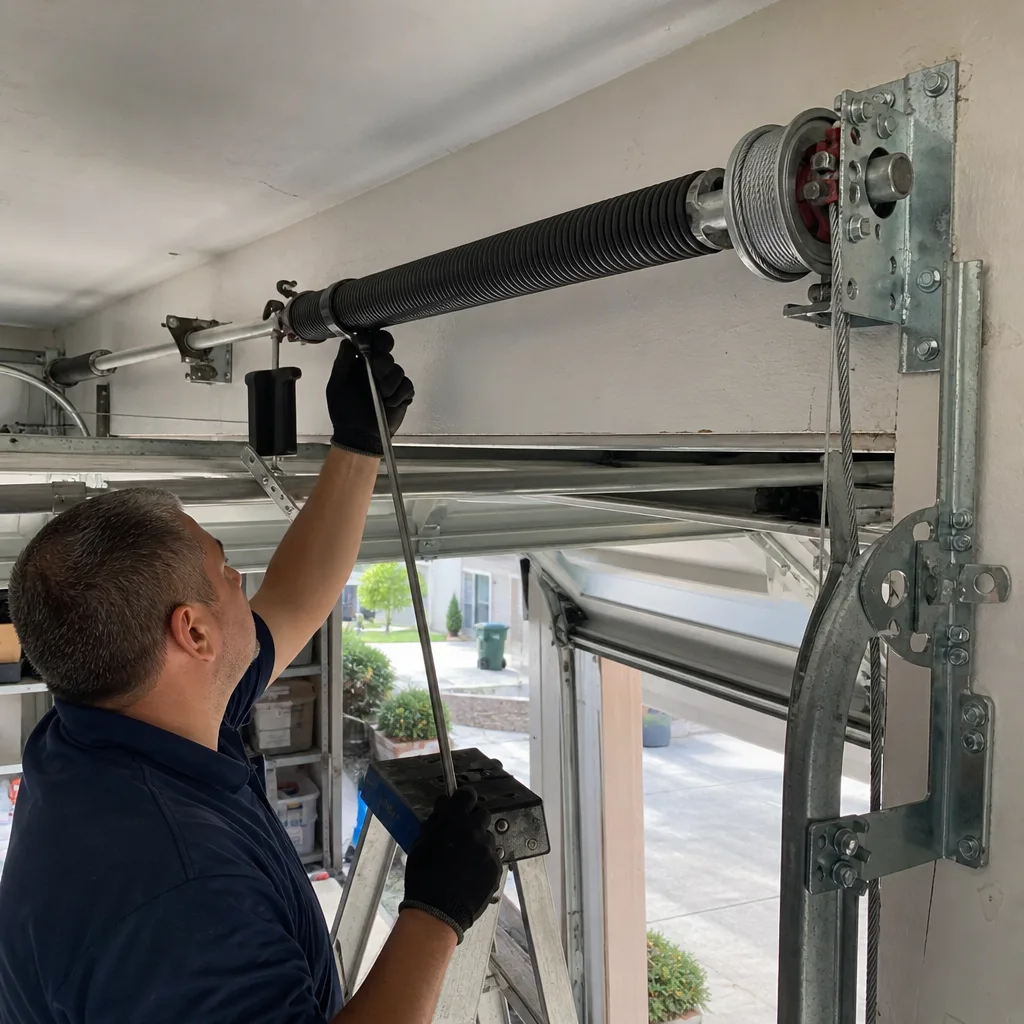
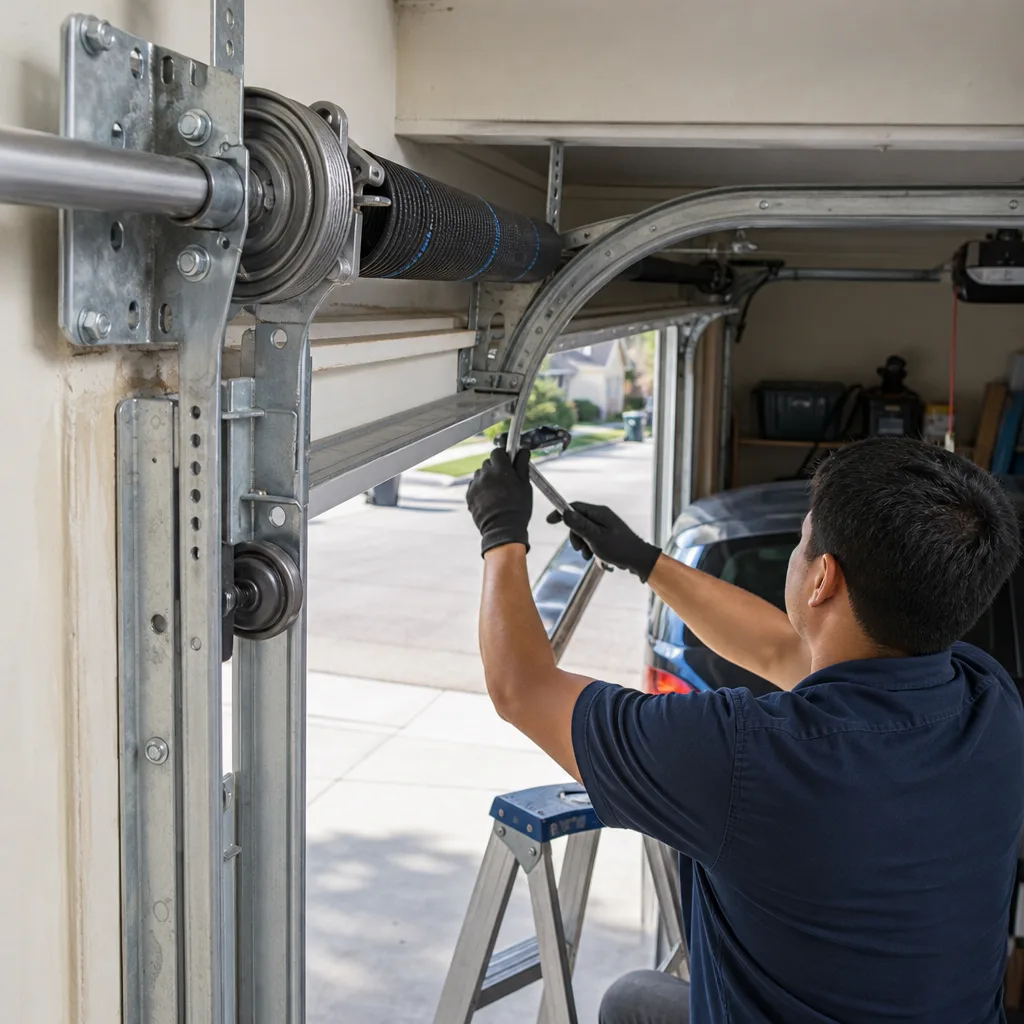
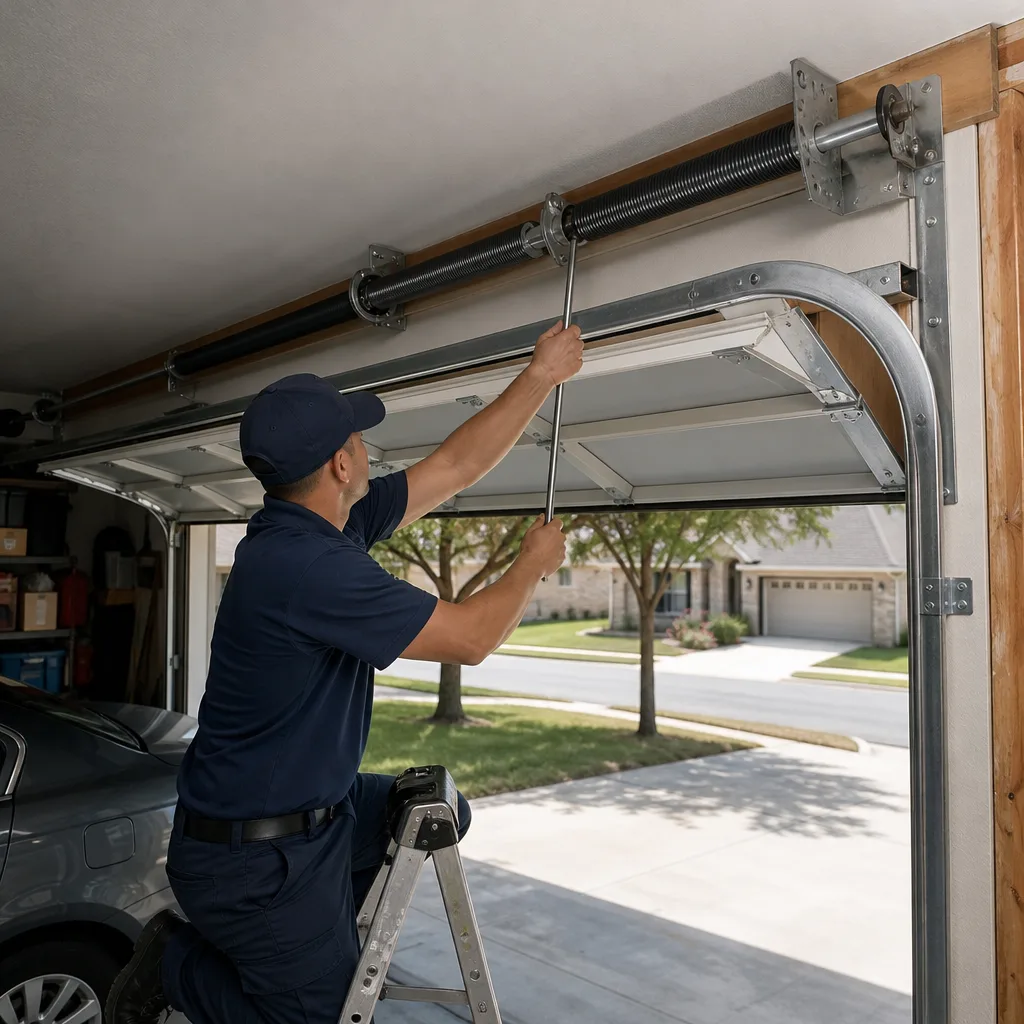
- Torsion spring replacement: The torsion spring, the horizontal coil above your door, holds the full weight of the door under twist tension. Even with the door open, that spring is wound. Releasing it requires winding bars inserted into the collar and manual unwinding under load. A slip at any point sends the bar flying. Never attempt this.
- Cable repair or replacement: The cables running up each side carry the same tension as the spring. When a cable frays or snaps, the remaining cable becomes the only thing holding the door. Garage door cable repair in San Antonio is where we see the most near-misses from homeowners who thought it looked simple.
- Full panel replacement: A single panel on a double door weighs 60 to 90 pounds. Getting the old one out and the new one aligned without scratching the adjacent panels or warping the track takes two people and panel-specific tools. Also, most panel colors are sun-faded after three San Antonio summers, so color-matching is its own art.
- Opener replacement on a heavy door: Mounting a new opener to a wooden or double-wide steel door means dead-lifting the door briefly and drilling precise mounting points. Get the bracket placement off by half an inch and the opener pulls the door crooked, which trashes the rollers and track over time.
- Any repair involving the track itself: Tracks carry the door’s weight through every cycle. A bent track section needs replacement, not bending back with pliers. Bent-back track fails again, unpredictably.
The pattern: if you’re replacing a part, it’s probably yours. If you’re releasing tension, it’s not. If you’re removing weight, call someone who does it weekly. For anything quoted on the door or opener itself, garage door repair in San Antonio from a trained tech is the safer calculation.
What Parts Actually Cost in San Antonio
Let’s talk real numbers, because generic guides never do. We price parts the way a homeowner would at retail and the way a shop buys them wholesale, because that gap is the entire DIY-versus-pro economic argument.
Retail Part Costs (San Antonio Home Depot or Lowe’s, 2025 prices):
- Bottom seal (16 ft): $14.98 retail. Tech wholesale: $4.80. DIY time: 40 minutes.
- Weatherstripping kit (top and sides): $39 retail. Tech wholesale: $11. DIY time: 1-2 hours with a helper.
- Photo-eye sensors (replacement pair): $48 retail. Tech wholesale: $19. DIY time: 30 minutes if you only need alignment, 90 minutes if wiring is involved.
- Rollers (10-pack nylon): $22 retail. Tech wholesale: $8. DIY time: 2 hours, and you must remove the bottom roller from the track carefully, the only roller under real tension.
- Single torsion spring (standard size): $89 retail. Tech wholesale: $31. DIY time: do not attempt.
- LiftMaster remote (universal): $29 retail. Tech wholesale: $14. DIY time: 10 minutes.
The math flips depending on the job. For weatherstripping and remotes, DIY saves you $30 to $60 and the risk is near zero. For anything with a spring or cable, the $58 retail markup you’d save is irrelevant because the danger isn’t the money.
Labor in San Antonio for spring replacement typically runs $150 to $290 including the spring itself, depending on spring type, door weight, and whether it’s a single or double door. That’s the number we quote before any work starts, and the number doesn’t change when we arrive. For reference, garage door spring repair in San Antonio should always include the part, the labor, and a written price. “We’ll see when we get there” is not a quote.
The #1 DIY Mistake San Antonio Techs See
It’s not the spring. Homeowners who attempt torsion spring work sometimes end up in urgent care, but they’re rare because the risk is obvious. The mistake we see most often in garages from Helotes to Windcrest is stripped mounting bolts on the door bracket.
Here’s how it happens. The homeowner notices the door opener bracket pulling loose from the door’s top section. They grab a drill, pick a bit that’s “close enough,” and overdrive the bolt into soft steel or hollow aluminum. The hole strips out. Now the bracket won’t hold, the opener jerks the door off-center, and the repair cost doubles because the stripped hole needs a backing plate, a Heli-Coil insert, or a new top section.
The fix that started this chain costs $6 in hardware: two grade-8 bolts and matching nuts. But the bolt needs to be the right thread pitch and the holes need to be drilled to the right size, which is printed on the opener manual for every LiftMaster, Chamberlain, and Genie unit going back 20 years. When we see a stripped bracket, the homeowner usually knew the manual had a spec and decided it didn’t matter. It mattered.
Also common, and also cheap to avoid: using WD-40 on rollers and hinges. WD-40 is a solvent, not a lubricant. It cleans and then dries. Within a week, the metal is running dry and louder than before. Silicone and white lithium actually stay put. One $8 can of the right stuff prevents a $120 roller replacement down the line.
Why July Heat Changes the DIY Calculus
San Antonio’s climate isn’t just an inconvenience for garage work. It’s a mechanical variable. Most DIY guides are written for garages in Ohio or Minnesota, where the air is cool, the steel is stable, and a homeowner can spend three hours on a Saturday afternoon without risk. In a west-facing San Antonio garage in July, the wall-mounted thermometer routinely hits 110°F by 2pm, and the door’s metal panels get hot enough to burn bare skin.
Three specific problems follow from that heat:
- Thermal expansion affects fitment. Steel tracks and aluminum brackets expand as they heat. A part that slides in easily at 8am may be stubborn at 2pm, and a homeowner who forces it may bend the track or warp a panel edge. Professional installs account for this; DIY attempts often don’t.
- Cable and spring work in high heat is a focus risk. Torsion spring replacement requires sustained attention and controlled, deliberate hand movements. At 110°F, your grip weakens, your hands sweat inside work gloves, and your reaction time dulls. That is a genuinely dangerous combination when you’re holding a winding bar under 60 to 80 pounds of rotational force.
- Lubricants behave differently in heat. White lithium grease thins at high temperature and runs off the hinge pins before it penetrates. If you insist on doing lubrication yourself in the summer, do it at 7am or after 8pm, when the garage and door are under 90°F, and wipe the excess so it doesn’t drip onto the door face and bake into a stain.
None of this means you can’t DIY in San Antonio. It means you should schedule DIY work for early morning or late evening from May through September. The window from 10am to 6pm is for professionals with insulated vans, shop fans, and the habit of working fast under heat load.
The 3-Minute Self-Check Before You Book Anyone
Your door worked yesterday and doesn’t work today. Before you call anyone, including us, spend three minutes running this sequence. It resolves about 40% of “broken” doors in San Antonio without a service call.
- Check the disconnect cord. The red cord hanging from your opener rail disconnects the door from the opener motor so you can operate it manually in a power outage. If that cord was accidentally pulled, or a kid pulled it during play, the opener will run but the door won’t move. Push the opener button and watch the rail: if the carriage moves but the door doesn’t, re-engage the disconnect by pulling the cord toward the door and running the opener until it clicks back in.
- Check the photo-eye sensors. Look at the two small units mounted 4 to 6 inches off the floor on each side of the door opening. Each one has a small light, typically green or red. If either light is off or blinking, the sensors are misaligned or blocked. Clear any boxes, bicycles, or cobwebs from the beam path, loosen the wing nut on the misaligned sensor, aim it until the light steadies. Try the door again.
- Check the remote battery. If the wall button opens the door but the remote doesn’t, the remote’s coin battery is dead. It’s a CR2032 on most LiftMaster and Chamberlain remotes. $3 at any H-E-B checkout. Replace it, press the learn button on the opener if needed, done.
- Check the breaker. Garage door openers are often on a shared circuit with the garage outlets or an exterior light. If the opener is completely dead, no lights, no hum, check the breaker panel. Flip the garage breaker fully off, then fully on. If the opener runs again, the fix cost nothing.
- If none of the above work, note the symptom and call. Write down exactly what happens: does the opener hum but nothing moves? Does the door close then immediately reverse? Does it open 6 inches and stop? What noise does it make? A clear symptom description gets you a faster, more accurate quote than “it’s broken.”
If steps 1 through 4 solve it, you’ve saved a service fee and learned how your door works. If they don’t, you now have the information to describe the failure accurately to whichever company you call.
Warranty and Code Reality for San Antonio Homes
San Antonio sits in Bexar County, which follows unincorporated county codes with some city-specific amendments for incorporated areas. For garage doors, the relevant points are simpler than most people expect, though you should still review Garage Door Permits, Codes & Inspections in TX: What You Need to Know: there’s no local permit required for residential garage door repair or replacement of like-for-like parts. Permits come into play for structural changes, like widening the garage opening or adding a new door where none existed. For everything else, the requirement is just that the work meet the current edition of the International Residential Code, which in practice means springs under proper containment and cables routed per manufacturer spec.
The more practical concern is warranty. If your door is a Clopay or Amarr and still under the original warranty, doing major work yourself can void it. Most manufacturers require professional installation or repair for spring replacement and anything involving the counterbalance system, and they’ll ask for a receipt from a licensed technician if you file a claim later. A $150 professional spring job that preserves a 10-year panel warranty is a different financial decision than a $60 DIY spring attempt that cancels it.
Wayne Dalton and Craftsman doors have similar language in their warranty booklets, and so do opener manufacturers like LiftMaster. Read your original paperwork before doing anything beyond lubrication and remote reprogramming. If you’ve lost the paperwork, the model and serial number on the door’s end stile will get you the PDF from the manufacturer’s website.
The practical takeaway: warranty risk is a real cost that belongs in your DIY-versus-pro calculation, and most homeowners never factor it in. On a door that’s 15 years old and out of warranty, DIY is a straightforward call if the job is on the safe list. On a door that’s 3 years old with a transferable warranty, that warranty has cash value, and protecting it often makes professional repair the cheaper net choice.
Common Mistakes to Avoid
- Using the wrong drill bit size on the door bracket. This is the stripped-bolt problem we see weekly across San Antonio. The opener manual states the correct bit and thread spec. Using “close enough” means a ruined mounting hole and a repair that costs four times what the bolt cost.
- Lubricating with WD-40. WD-40 is a water displacer and solvent, not a lubricant. It cleans off the old lubricant and then evaporates, leaving metal on metal. Use white lithium or silicone, and wipe the excess.
- Releasing the spring with tools that aren’t winding bars. Screwdrivers, pry bars, and rebar are not winding bars. Winding bars are hardened steel rods sized to the spring cone. Anything else flexes, slips, or breaks under torque. This mistake is the leading cause of spring-related injuries in our service area.
- Replacing one spring on a two-spring door. Both springs on a double door wear at similar rates. Replacing only the broken one means the old spring carries the load until it snaps, often within months, and you pay for a second service call. Professionals quote both springs because replacing both is the actually cheaper move.
- Forcing a door that’s bound up. If the door won’t move, something is wrong, and the opener is powerful enough to bend a track or rip a bracket when you override the safety stop repeatedly. Pushing the button three more times because “sometimes it works the second time” is how small problems become big ones.
- Doing cable work in a hot west-facing garage. Working with frayed or snapped cables requires your full attention and controlled hand movements. At 2pm in August, your grip strength and focus are both compromised by heat. This is when we see slip injuries that had nothing to do with skill.
- Ignoring the manual’s torque specs when mounting an opener. Too tight strips the bolt. Too loose means the opener walks out of position over months. The spec is printed in the manual for every LiftMaster, Chamberlain, and Genie opener. Follow it.
When to Call a Professional
Call a professional the moment the job involves a torsion spring, a cable under tension, a full panel replacement, or anything where the door’s weight needs to be lifted manually. Those lines are absolute, regardless of how many YouTube videos you’ve watched. Also call if the door is mid-20s in age and the failure suggests accumulated wear across multiple parts, because fixing one thing on a worn-out door usually reveals the next thing within a month, and a professional can see the whole picture on arrival. Marlow Garage Door Repair San Antonio offers free estimates in San Antonio, and every quote is a written price agreed before any work starts. Call (361) 314-2738 or book online, and you’ll know the number before we touch a bolt.
See the difference
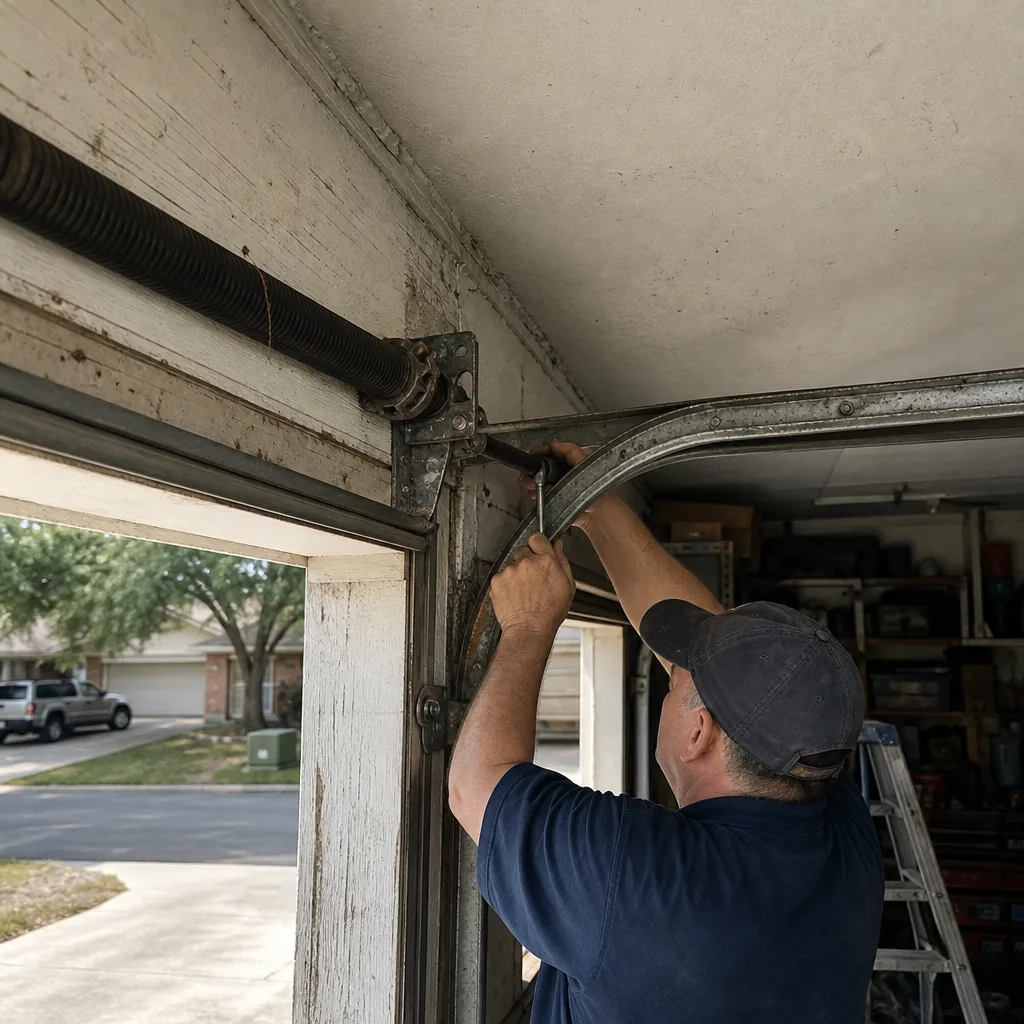 Before
 After
After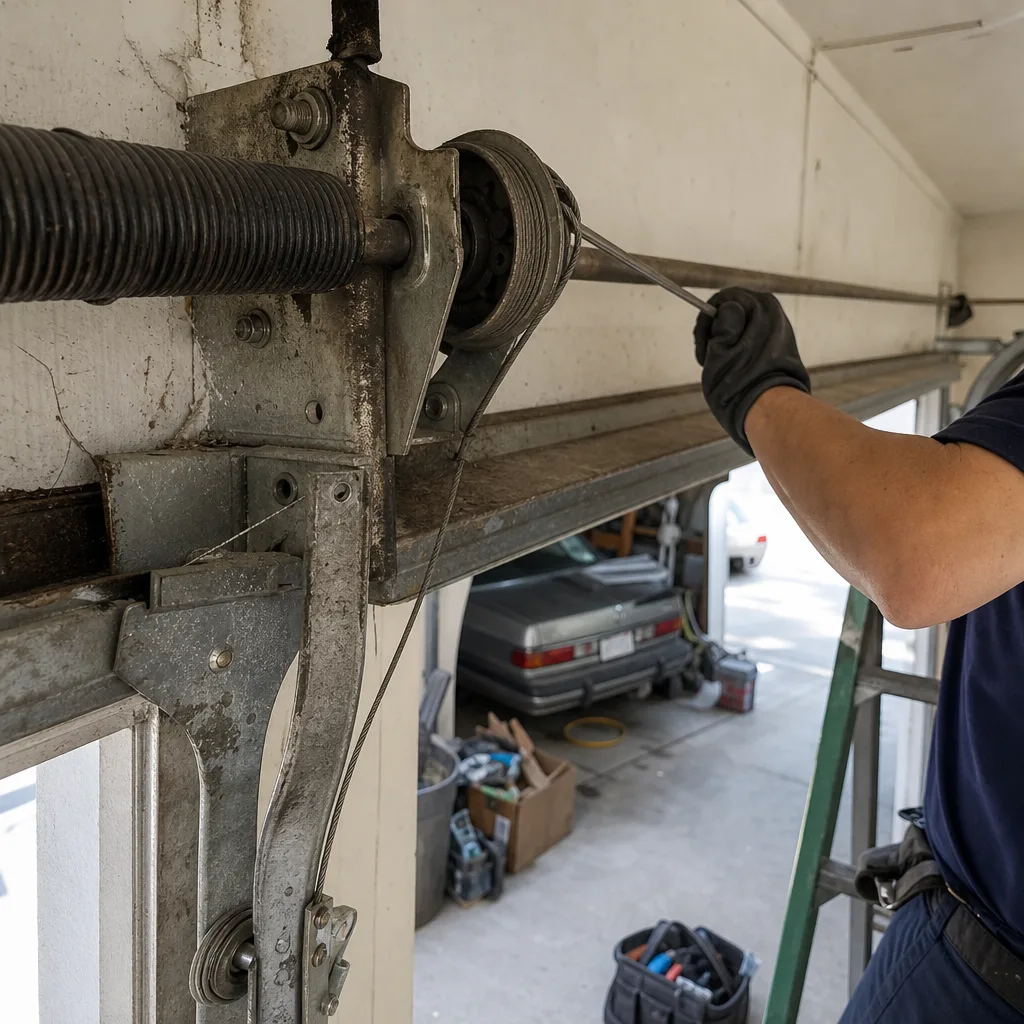 Before
 After
After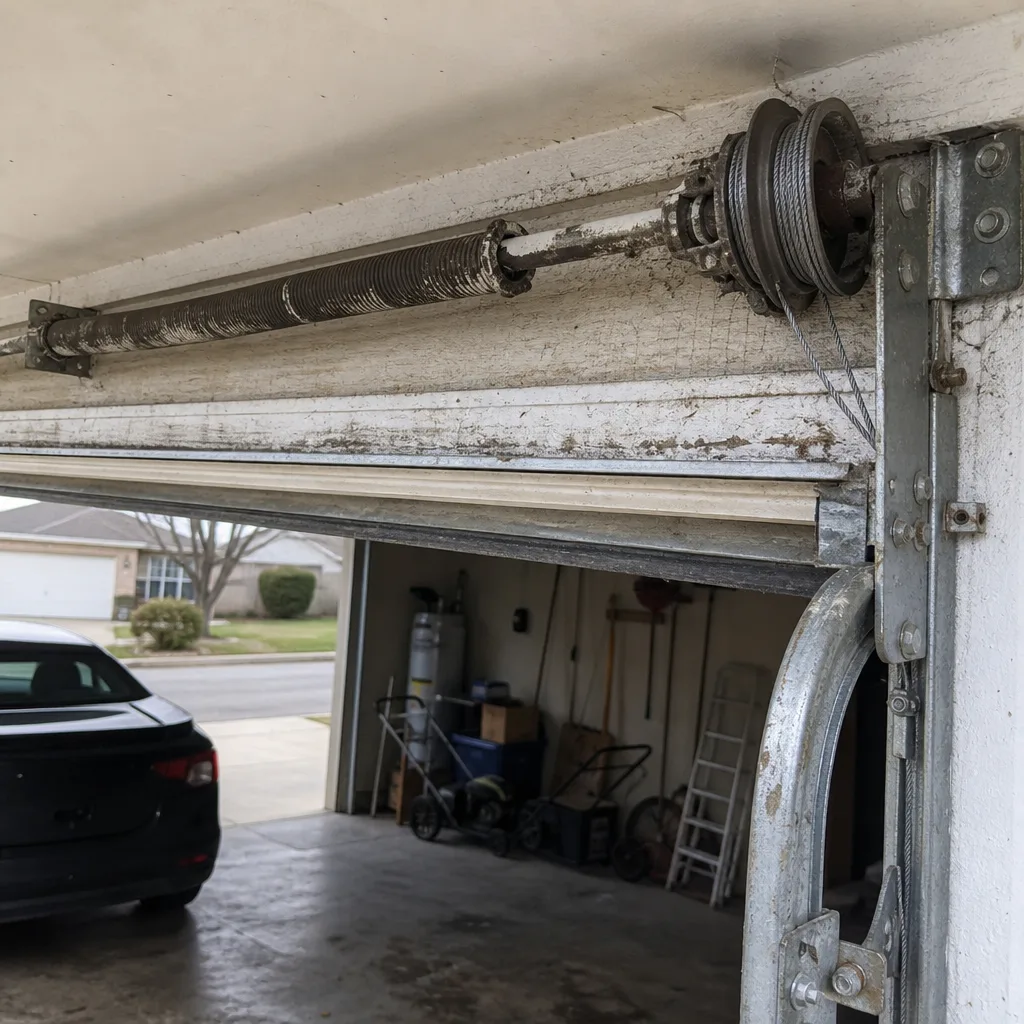 Before
 After
AfterFrequently Asked Questions
No. A torsion spring stores 60 to 80 pounds of rotational force even when the door is open, and releasing it improperly sends the winding bar flying with enough energy to break bones or worse. The tools required cost about $30, but the knowledge of how to use them under load takes installers hundreds of repetitions to develop. In San Antonio, professional spring replacement runs $150 to $290 including the spring, and that price is always cheaper than an ER visit.
You can safely replace weatherstripping and the bottom seal, realign photo-eye sensors, reprogram remotes, tighten loose bolts, and lubricate rollers with white lithium or silicone spray. These tasks involve no stored tension and require no specialized tools. Affordable parts are available at hardware stores across San Antonio, including the Home Depot on Fredricksburg Road and the Lowe’s on Nacogdoches.
Spring replacement in San Antonio typically runs $150 to $290 for a single spring including parts and labor, with double doors at the higher end. The exact number depends on spring type, wire gauge, and door weight. Marlow gives you a written price before any work starts, so the invoice matches the quote every time. Call (361) 314-2738 for an exact quote.
That’s the photo-eye sensors doing their job. The two units near the floor on each side of the door send an invisible beam across the opening, and if the beam is blocked or the sensors are misaligned, the opener refuses to close. Clear anything in the beam path, wipe the sensor lenses with a dry cloth, and realign the units until both indicator lights stay steady. If it still reverses, the sensors may be wired incorrectly or failing, and that’s a quick professional fix.
Yes, in three specific ways. Metal components expand in high heat, making parts fit tighter and sometimes binding on the track. Lubricants thin out and run off hinge pins faster in summer. And working on tensioned parts in a 110°F west-facing garage in July is physically dangerous because heat dulls grip strength and focus. Schedule any DIY garage work for early morning or evening from May through September.
On major work like spring replacement or anything in the counterbalance system, yes, most manufacturers including Clopay, Amarr, and Wayne Dalton require professional service to keep the warranty valid, and they’ll want a technician’s receipt if you file a claim. Lubrication, sensor alignment, and remote reprogramming have no warranty impact. Check your original paperwork before doing anything beyond basic maintenance.
The Bottom Line
Garage door work splits cleanly in San Antonio. Weatherstripping, sensors, remotes, and lubrication are safe, satisfying DIY jobs that save you $30 to $60 and take under two hours. Springs, cables, panels, and opener mounting on heavy doors are professional jobs, not because you lack intelligence but because you lack the right tools and the hours of loaded-tension experience that make the work safe. The smart move is knowing which side of that line your problem sits on before you pick up a wrench. For everything on the professional side, Marlow Garage Door Repair San Antonio provides a written price before any work starts, a 365-Day Done Right Promise on every repair, and a live person on the phone 24/7 at (361) 314-2738. Marlow Garage Door Repair San Antonio home is your starting point for free estimates and online booking.
Written by Jaylen Ross, Owner at Marlow Garage Door Repair San Antonio, serving San Antonio since 2002.